The BEST Cherry Pie Filling Recipe
Introduction
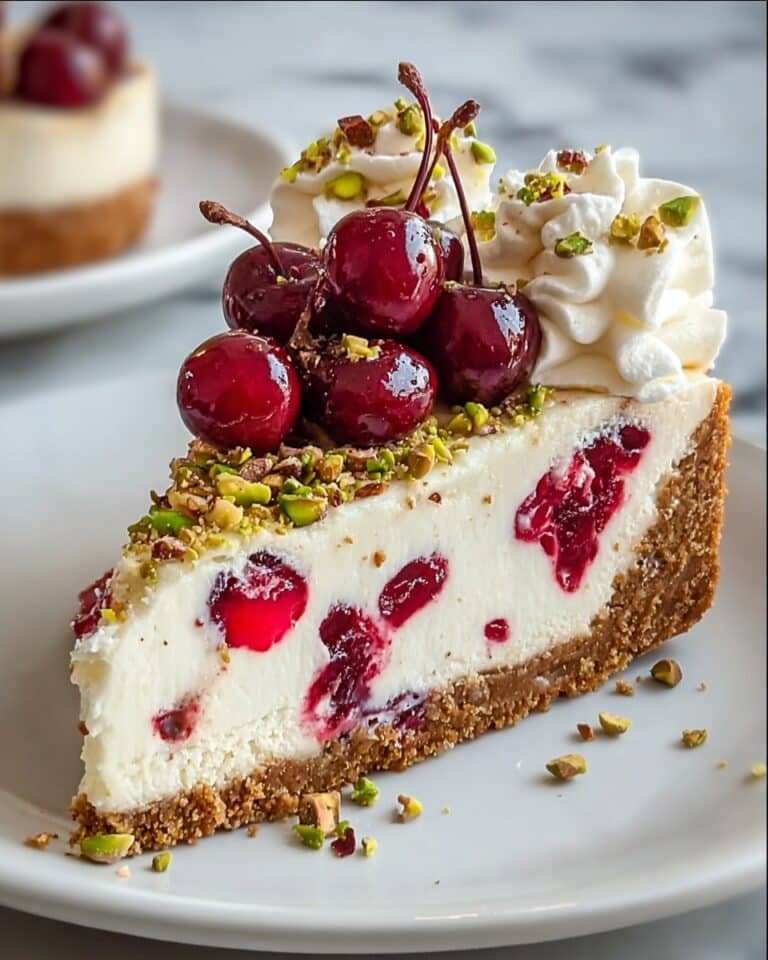
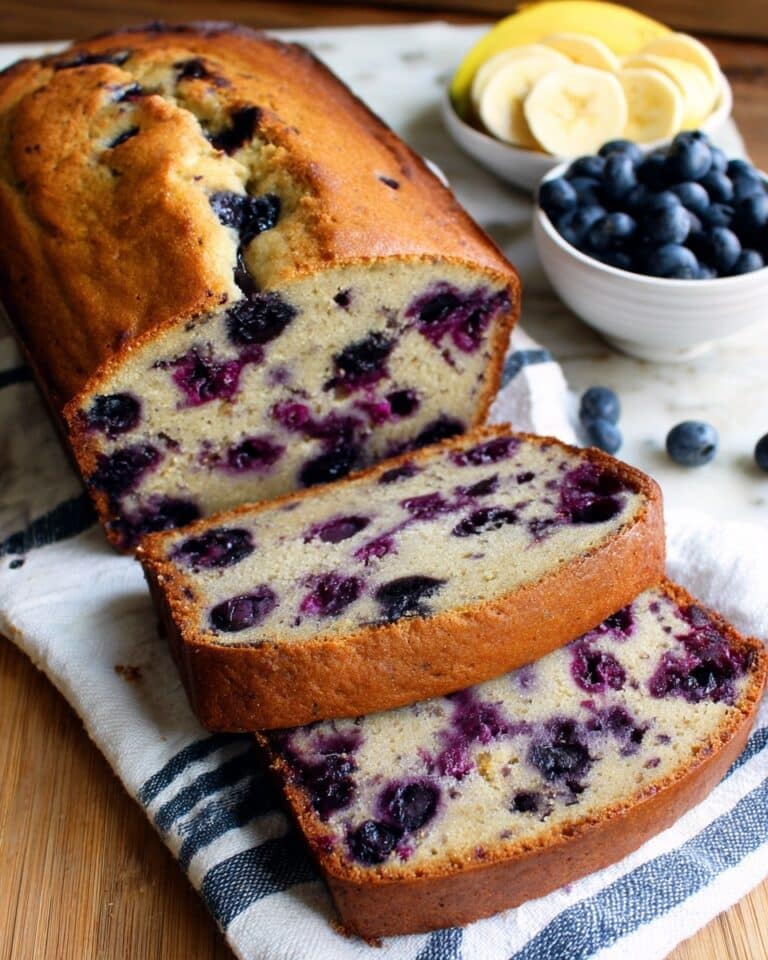
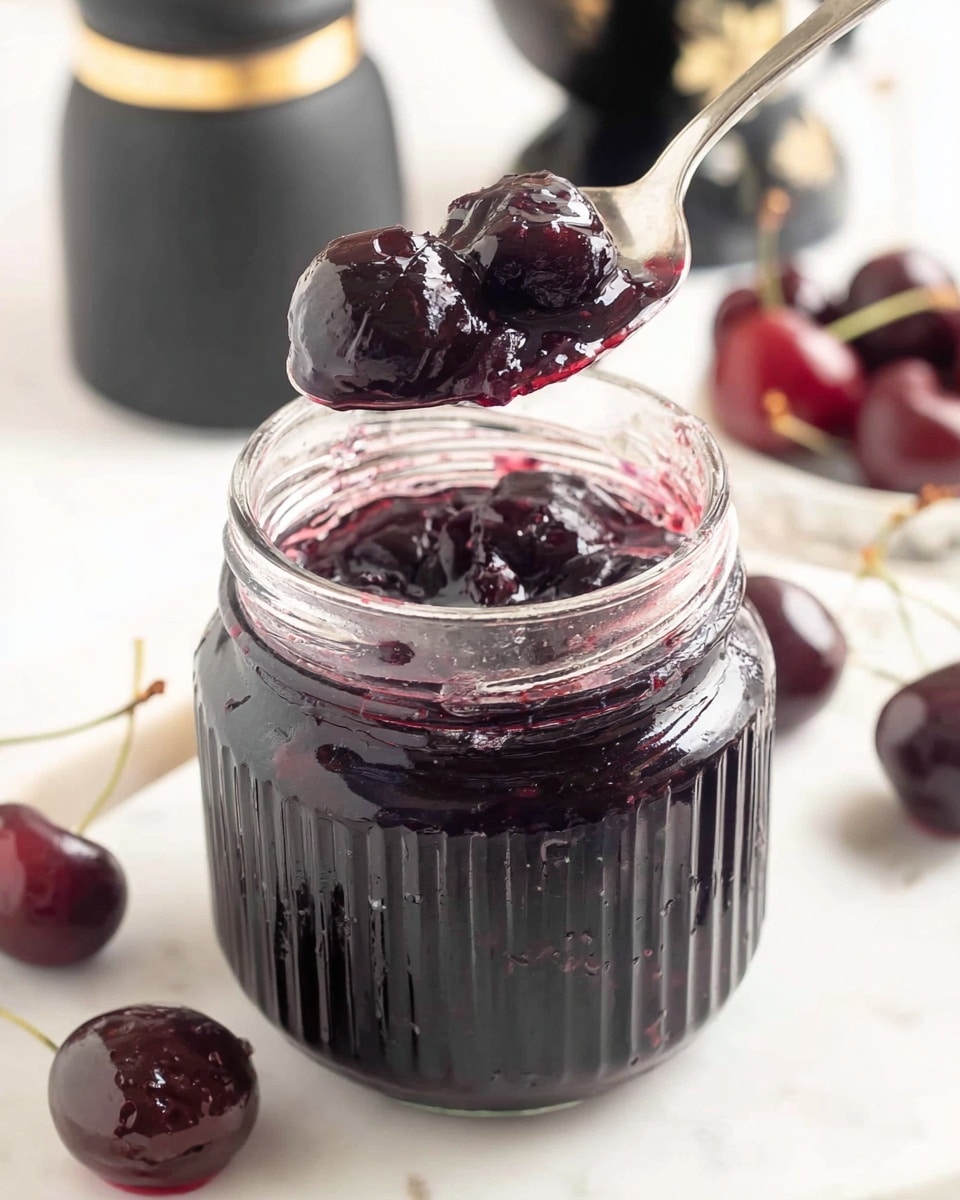
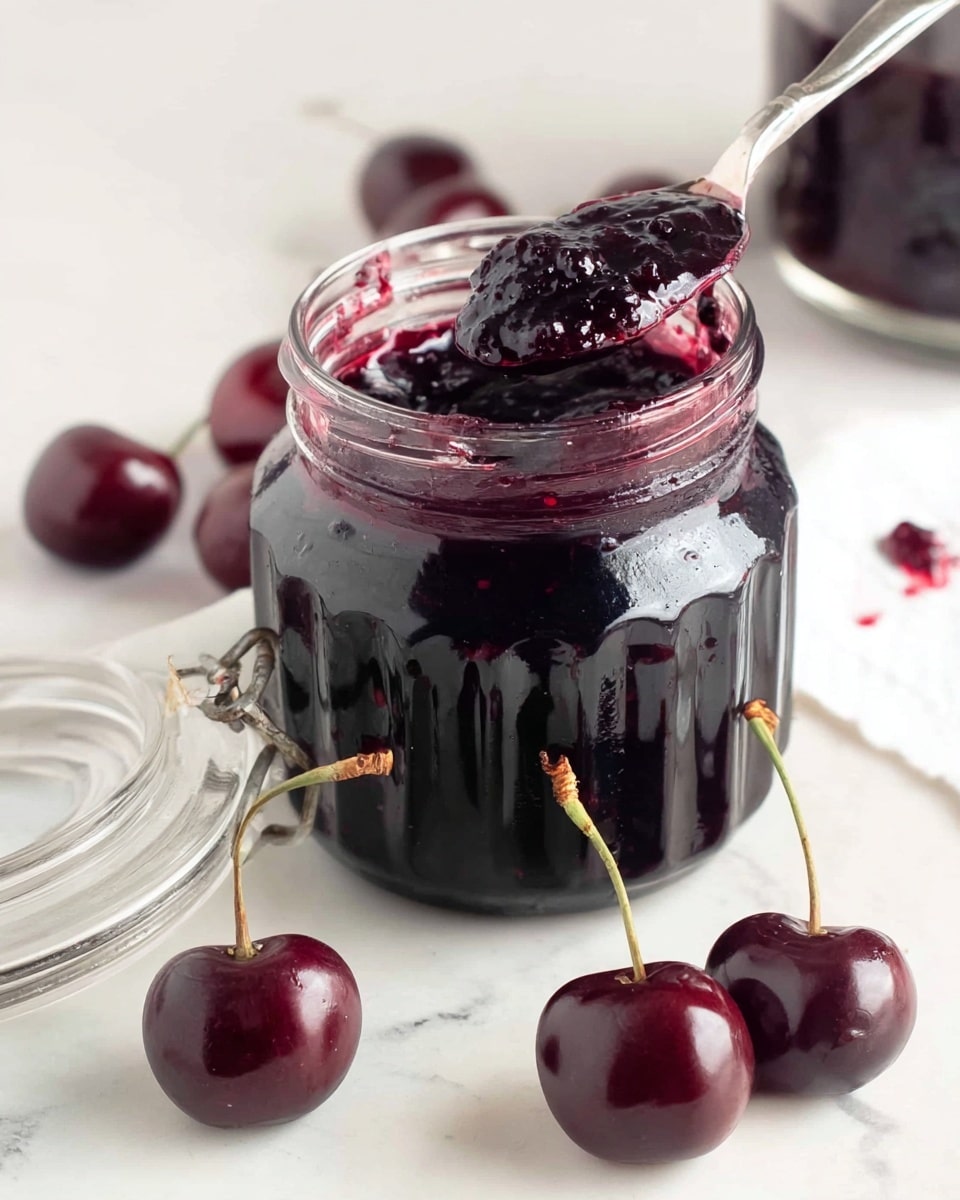
This cherry pie filling is bursting with fresh cherry flavor and a perfect balance of sweetness and tang. It’s easy to make from scratch and creates a glossy, thick filling that works wonderfully in pies, tarts, or even as a topping for desserts.
Ingredients
- 200 g cherries
- 50 g white sugar
- 1 tbsp lemon juice
- 1 tbsp cornstarch
- 120 ml water (divided)
- ¼ tsp salt (optional)
Instructions
- Step 1: Pit the cherries and collect any juices that come out during pitting.
- Step 2: In a saucepan, combine the cherries, sugar, lemon juice, salt if using, and ¼ cup (60 ml) of water. Cook over medium heat until the sugar dissolves, mashing some cherries gently to add texture.
- Step 3: In a small bowl, mix the remaining 60 ml of water with the cornstarch until smooth. Stir this mixture into the saucepan and cook on low heat, stirring constantly until the filling thickens, becomes glossy, and coats the back of a spoon.
- Step 4: Remove the saucepan from heat and allow the filling to cool—it will continue to thicken as it cools. Transfer to a clean jar or container for storage.
Tips & Variations
- For a deeper flavor, add a splash of vanilla extract or a pinch of cinnamon while cooking.
- Use frozen cherries if fresh aren’t available, just thaw and drain excess liquid before starting.
- If you prefer a smoother filling, mash the cherries more thoroughly or blend slightly before thickening.
Storage
Store the cherry pie filling in an airtight container or mason jar in the refrigerator for up to 1 week. For longer storage, freeze it for up to 3 months. To use from frozen, thaw overnight in the refrigerator and stir before using. Reheat gently on the stove if needed.
How to Serve
Serve this delicious recipe with your favorite sides.
FAQs
Can I use frozen cherries instead of fresh?
Yes, frozen cherries work well. Just thaw them first and drain any extra liquid before starting the recipe to avoid diluting the filling.
How do I know when the filling is thick enough?
The filling is ready when it coats the back of a spoon and leaves a clear line when you run your finger through it. It will thicken more as it cools, so don’t overcook.
PrintThe BEST Cherry Pie Filling Recipe
This is a simple and delicious cherry pie filling recipe made from fresh cherries cooked with sugar, lemon juice, and thickened with cornstarch to create a glossy, flavorful filling perfect for pies, tarts, or desserts.
- Prep Time: 10 minutes
- Cook Time: 15 minutes
- Total Time: 25 minutes
- Yield: Approximately 1 cup (240 ml) of cherry filling 1x
- Category: Dessert Filling
- Method: Stovetop
- Cuisine: American
Ingredients
Ingredients
- 200 g Cherries, pitted
- 50 g White sugar
- 1 tbsp Lemon juice
- 1 tbsp Cornstarch
- 120 ml Water (divided)
- ¼ tsp Salt (optional)
Instructions
- Prep: Pit the cherries carefully and collect any juices released during the pitting process. Set aside for cooking.
- Cook: In a medium saucepan, combine the pitted cherries, white sugar, lemon juice, and ¼ cup (60 ml) of the water. Heat the mixture over medium heat, stirring occasionally until the sugar dissolves completely. Mash a few cherries gently with the back of a spoon to add texture to the filling.
- Thicken: In a small bowl, mix the remaining 60 ml of water with the cornstarch until smooth. Gradually add this mixture to the saucepan while stirring continuously. Reduce heat to low and cook the filling until it thickens and becomes glossy, making sure it coats the back of a spoon, which usually takes a few minutes. Add salt if using and stir to combine.
- Cool: Remove the saucepan from the heat and allow the filling to cool. It will thicken further as it cools. Transfer the filling into a clean mason jar or airtight container and store in the refrigerator for up to a week or freeze for longer preservation.
Notes
- Fresh cherries work best, but frozen cherries can be used if thawed and drained.
- Adjust the sugar quantity based on the sweetness of your cherries or personal preference.
- If you want a smoother filling, mash more cherries or use an immersion blender briefly after cooking.
- This filling is great for pies, cheesecakes, or as a topping for ice cream and yogurt.
- Make sure to stir constantly when adding cornstarch slurry to avoid lumps.
Keywords: cherry pie filling, fresh cherry filling, homemade pie filling, fruit dessert filling, cherry sauce