Old-Time Fudge Recipe
Introduction
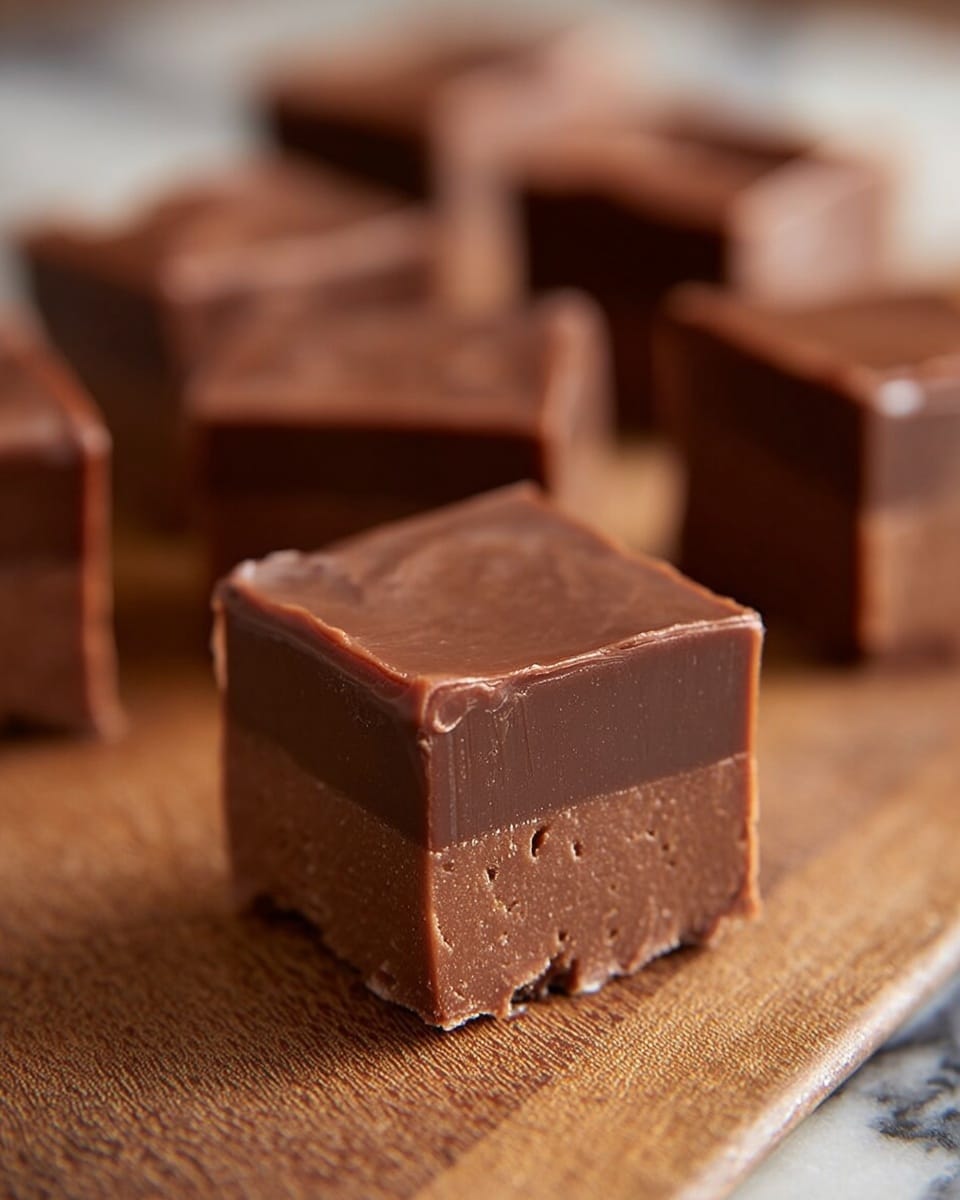
Old-Time Fudge is a rich, creamy treat that brings back nostalgic flavors from years past. This classic recipe uses simple ingredients and a bit of patience to create smooth, melt-in-your-mouth fudge perfect for sharing or savoring solo.
Ingredients
- 3 cups granulated sugar
- 2/3 cup unsweetened cocoa (Dutch processed)
- 1/8 teaspoon salt
- 1 1/2 cups whole milk
- 1/4 cup salted butter (room temperature) *If using unsalted butter, increase salt to 1/4 teaspoon
- 1 teaspoon vanilla extract
Instructions
- Step 1: Prep the pan by lining an 8-inch square pan with buttered parchment paper for easy removal later.
- Step 2: In a medium saucepan, combine the sugar, cocoa, and salt. Add the milk and stir with a wooden spoon (avoid metal spoons).
- Step 3: Cook over medium heat, stirring constantly, until the mixture reaches a strong boil, about 15 minutes.
- Step 4: Lower the heat to medium-low and cook without stirring until the temperature reaches 234°F (112°C), approximately 30 minutes.
- Step 5: Remove from heat and add the butter and vanilla extract, but do not stir. Let the mixture cool to room temperature, about 30 minutes.
- Step 6: When the mixture reaches 110°F (43°C), beat the fudge with a wooden spoon for 6-8 minutes until it starts losing its gloss.
- Step 7: Quickly spread the fudge into the prepared pan and let it cool completely, preferably overnight at room temperature.
- Step 8: Once cooled, cut the fudge into squares and enjoy!
Tips & Variations
- Use a candy thermometer to monitor temperature precisely for the best texture.
- Swap salted butter for unsalted and increase salt to 1/4 teaspoon for balanced flavor.
- Add a handful of chopped nuts or a pinch of cinnamon for a flavor twist.
- Beat the fudge vigorously once cooled to encourage the perfect creamy texture.
Storage
Store fudge in an airtight container at room temperature for up to 2 weeks. For longer freshness, wrap tightly and refrigerate for 2-3 weeks, or freeze for up to 3 months in plastic wrap or a double bag. Thaw frozen fudge before serving for best texture.
How to Serve
Serve this delicious recipe with your favorite sides.
FAQs
Can I use a metal spoon instead of a wooden spoon?
It’s best to use a wooden spoon, as metal utensils can react with ingredients or affect the texture of the fudge during mixing and beating.
What if I don’t have a candy thermometer?
Without a candy thermometer, you can test the fudge by dropping a small amount into cold water; if it forms a soft ball that flattens when pressed, it has reached the right temperature.
PrintOld-Time Fudge Recipe

This classic Old-Time Fudge recipe delivers a rich, creamy chocolate treat with a smooth texture and deep cocoa flavor. Made with simple pantry staples like granulated sugar, Dutch-processed cocoa, whole milk, and butter, this traditional fudge is perfect for satisfying your sweet tooth and sharing with loved ones during holidays or special occasions.
- Prep Time: 10 minutes
- Cook Time: 45 minutes
- Total Time: 1 hour 25 minutes (including cooling time)
- Yield: Approximately 36 squares 1x
- Category: Dessert
- Method: Stovetop
- Cuisine: American
- Diet: Vegetarian
Ingredients
Fudge Base Ingredients
- 3 cups granulated sugar
- 2/3 cup unsweetened cocoa powder (Dutch processed)
- 1/8 teaspoon salt
- 1 1/2 cups whole milk
- 1/4 cup salted butter (room temperature) – if using unsalted butter, increase salt to 1/4 teaspoon
- 1 teaspoon vanilla extract
Instructions
- Prep the Pan: Line an 8-inch square pan with buttered parchment paper to ensure easy removal of the fudge once set.
- Mix the Base: In a medium saucepan, combine the granulated sugar, Dutch-processed cocoa powder, and salt. Add the whole milk and stir gently using a wooden spoon to blend the ingredients thoroughly without scratching the pan.
- Boil the Mixture: Place the saucepan over medium heat and stir constantly with the wooden spoon. Bring the mixture to a strong, rolling boil which usually takes about 15 minutes, ensuring the sugar dissolves completely and the mixture thickens slightly.
- Simmer & Monitor Temperature: Reduce the heat to medium-low and allow the mixture to cook without stirring. Use a candy thermometer to monitor the temperature until it reaches the soft-ball stage at 234°F (112°C), approximately 30 minutes. This step is crucial for achieving the perfect texture.
- Add Butter & Vanilla: Remove the saucepan from the heat. Add the room temperature salted butter and vanilla extract to the hot mixture but do not stir. Let it cool at room temperature for about 30 minutes to reach around 110°F (43°C), which prepares the fudge for beating.
- Beat the Fudge: Once cooled sufficiently, use a wooden spoon to vigorously beat the mixture for 6 to 8 minutes. During this process, the fudge will lose its glossy sheen and start to thicken as it develops its classic creamy texture.
- Set the Fudge: Immediately spread the beaten fudge evenly into the prepared parchment-lined pan. Allow it to cool completely at room temperature. For best results, let the fudge set overnight to firm up properly.
- Cut & Serve: After the fudge has fully set, remove it from the pan using the parchment paper. Cut into small squares with a sharp knife and enjoy your rich, homemade fudge treat.
- Storing the Fudge: Store leftover fudge in an airtight container. At room temperature, it will keep for up to 2 weeks. Refrigerated, it lasts for 2 to 3 weeks, and when frozen in a plastic wrap or double bag, it can be stored for up to 3 months. Be sure to thaw before serving.
Notes
- Use a candy thermometer to ensure accurate cooking temperature for ideal fudge texture.
- Wooden spoons are recommended to avoid reaction with the acidic cocoa and to ensure proper beating.
- Butter temperature affects the mixing process; room temperature butter blends better.
- Cooling times are approximate; ambient room temperature can affect fudge setting.
- If using unsalted butter, increase salt to 1/4 teaspoon for balanced flavor.
- For cleaner cuts, warm the knife slightly before slicing the fudge.
- Storing fudge properly prevents it from drying out or becoming grainy.
Keywords: classic fudge recipe, old-fashioned fudge, chocolate fudge, homemade fudge, stovetop fudge, easy fudge recipe