Handmade Sub Rolls Recipe
Introduction
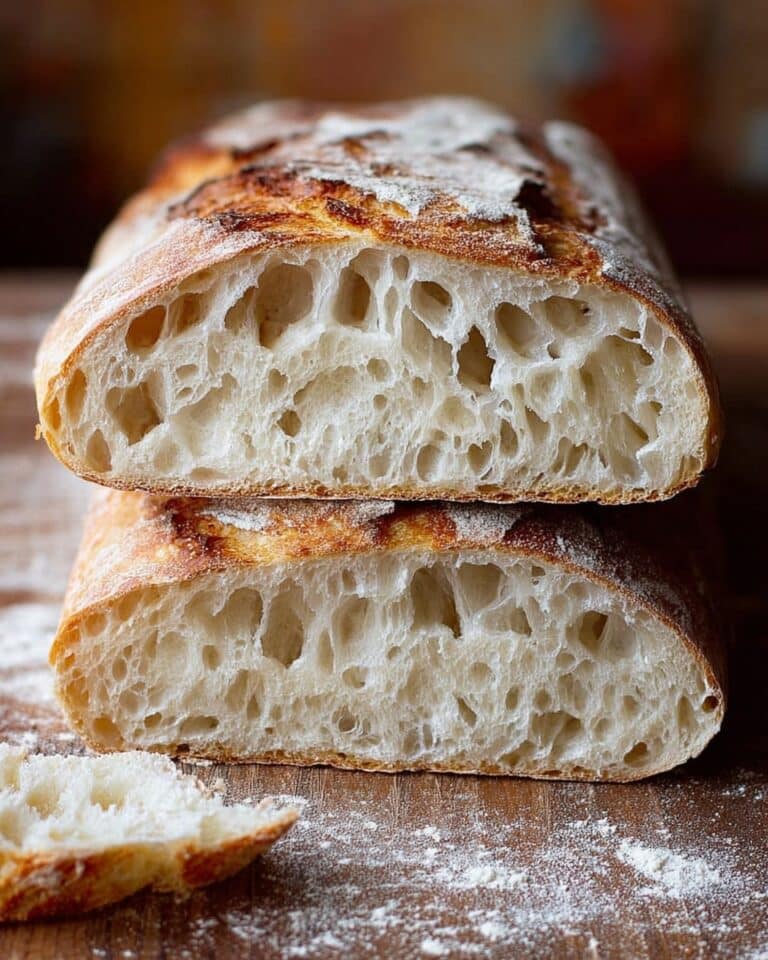
Handmade sub rolls are soft, tender, and perfect for sandwiches any day of the week. This recipe guides you through creating fluffy rolls with a golden crust that are sure to elevate your favorite fillings.
Ingredients
- 1 cup whole milk (245g, 110-115℉)
- 1 tablespoon + 2 teaspoons sugar (30g)
- 2 ½ teaspoons active dry yeast (11g, one packet)
- 3 ¼ cups bread flour (450g)
- 2 teaspoons fine sea salt (12g)
- 2 eggs (beaten)
- 3 tablespoons unsalted butter (41g, cold, cubed)
- 1 egg white (beaten, for egg wash)
- 1 tablespoon water (for egg wash)
Instructions
- Step 1: In a medium bowl, combine the warm milk, sugar, and yeast. Let the mixture bloom for 5 to 10 minutes until frothy.
- Step 2: While the yeast blooms, mix the bread flour and salt in the bowl of a stand mixer.
- Step 3: Add the yeast mixture and beaten eggs to the flour and salt. Knead on low speed for 3 to 5 minutes until a shaggy dough forms, scraping the sides as needed.
- Step 4: Add the cold, cubed butter and knead for another 8 to 10 minutes until the butter is fully incorporated and the dough is smooth. The dough should weigh about 880g.
- Step 5: Turn the dough onto a lightly floured surface and shape it into a tight ball.
- Step 6: Lightly grease a large bowl. Place the dough ball inside, turning it to coat with grease. Cover and let it rest for 1 hour, or until doubled in size.
- Step 7: Punch down the dough on a floured surface. Divide it into six equal pieces (about 140g each) and roll each into a ball.
- Step 8: Roll each ball into a rectangle roughly 9 inches wide by 5 inches tall, with a thickness between ¼ and ½ inch. Starting with the long side, tightly roll into a log and pinch the seams to seal. Place seam side down on a parchment-lined baking sheet.
- Step 9: Cover the rolls with a damp kitchen cloth or another baking sheet and let rise for 30 minutes.
- Step 10: Preheat the oven to 400°F while the dough proofs.
- Step 11: Mix the beaten egg white and water, then gently brush it over the rolls.
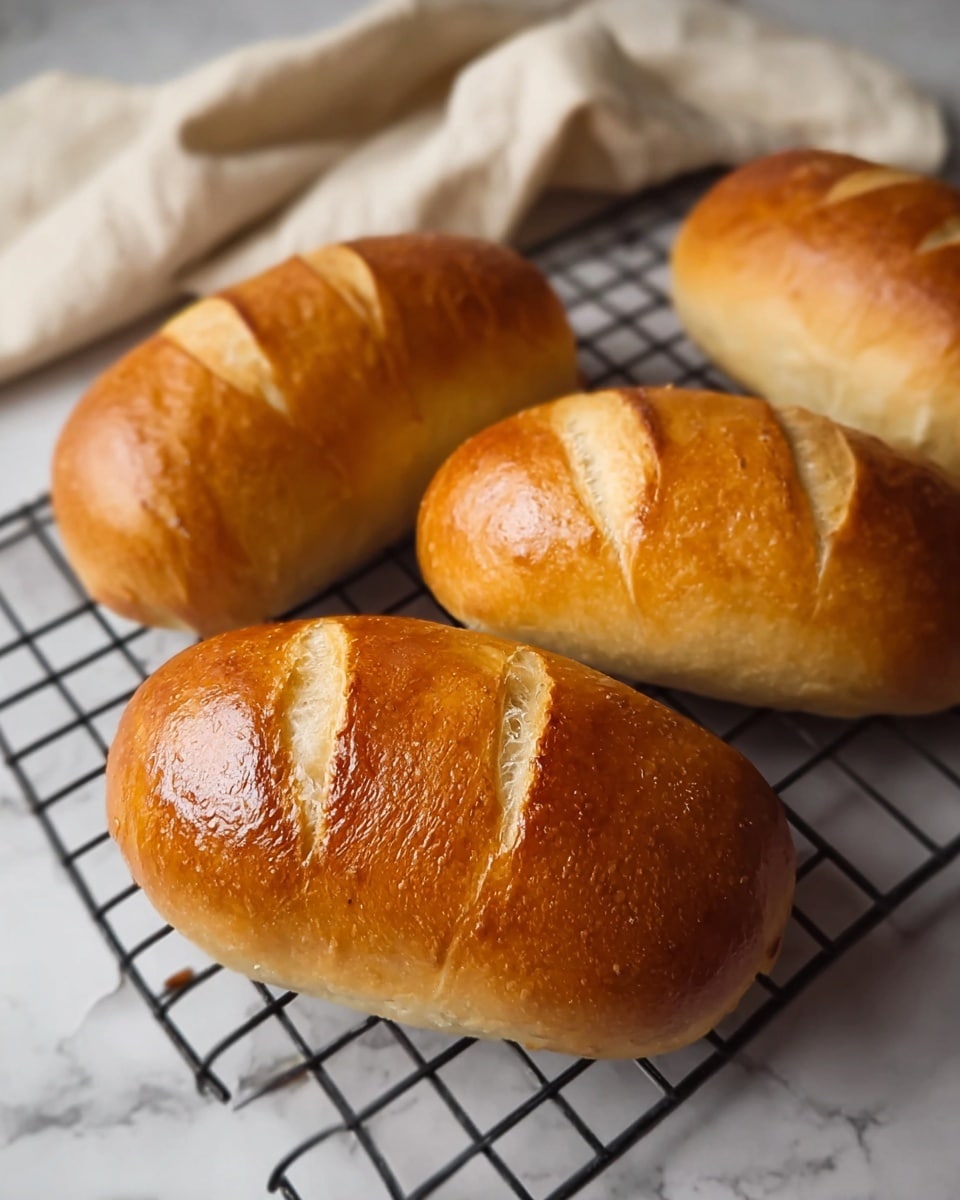
- Step 12: Score each roll with three shallow cuts about ¼ inch deep using a sharp knife or razor blade.
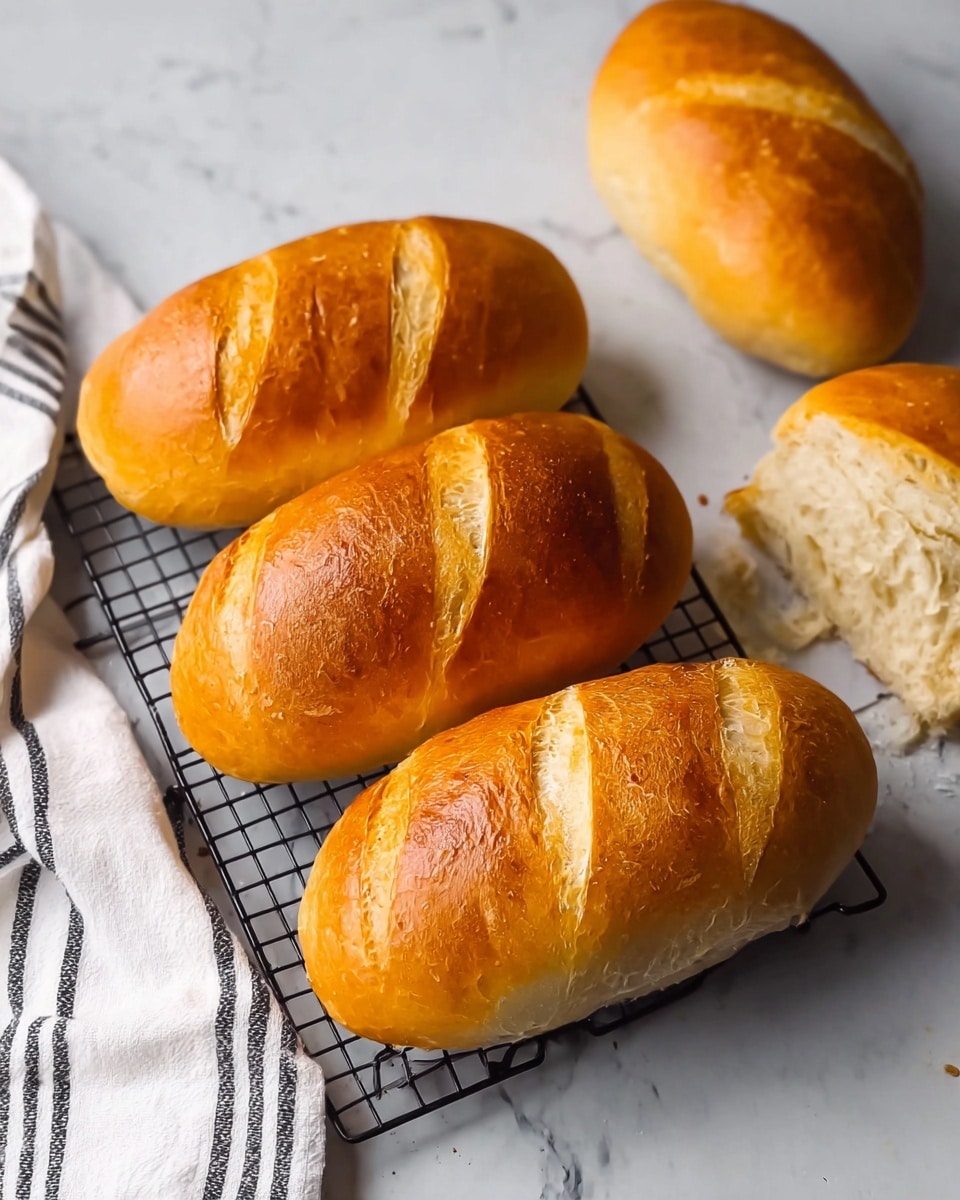
- Step 13: Bake for 15 minutes until golden brown or until the internal temperature reaches 195-200°F. Add 1 to 3 minutes if needed. Remove from oven and cool completely on a wire rack before slicing.
Tips & Variations
- Use bread flour for better gluten development and a chewier texture; all-purpose flour can be substituted but may yield softer rolls.
- Make sure the milk is warm, not hot, to properly activate the yeast without killing it.
- For a richer flavor, swap unsalted butter with an equal amount of browned butter.
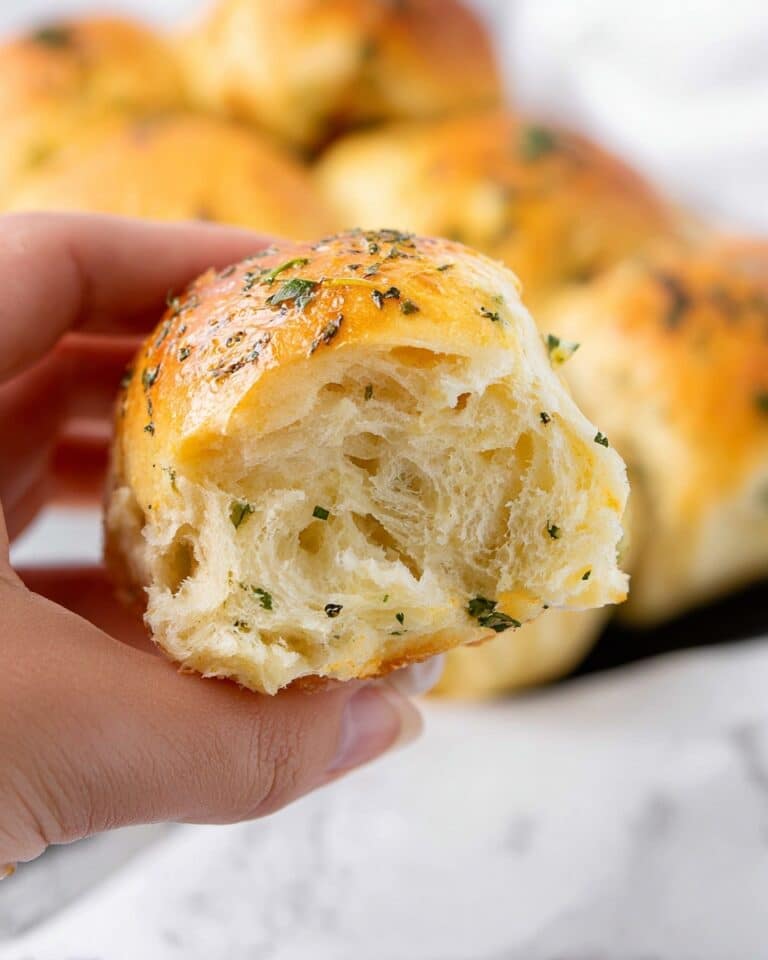
- Try adding herbs like rosemary or oregano into the dough for a savory twist.
- If you don’t have a stand mixer, knead the dough by hand on a floured surface for about 15 minutes.
Storage
Store the sub rolls in an airtight container or plastic bag at room temperature for up to 2 days. For longer storage, freeze cooled rolls individually wrapped in plastic wrap and placed in a freezer bag for up to 1 month. To reheat, thaw at room temperature and warm briefly in the oven at 350°F for about 5 minutes to restore freshness and crispness.
How to Serve
Serve this delicious recipe with your favorite sides.
FAQs
Can I use instant yeast instead of active dry yeast?
Yes, you can substitute instant yeast. Since it doesn’t require blooming, mix it directly with the flour and adjust the rising times as needed.
How do I know when the dough has doubled in size?
The dough should roughly double in volume and look noticeably puffed. Gently pressing a fingertip into the dough should leave an indentation that slowly springs back.
PrintHandmade Sub Rolls Recipe
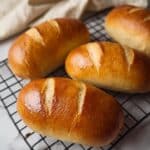
These Handmade Sub Rolls are soft, airy, and perfectly golden-brown bread rolls ideal for sandwiches and subs. Made from scratch using simple ingredients like bread flour, eggs, and butter, these rolls have a tender crumb and a crispy crust achieved by baking at a high temperature. The recipe includes detailed steps for kneading, proofing, shaping, and scoring to ensure the best texture and appearance.
- Prep Time: 20 minutes
- Cook Time: 15-18 minutes
- Total Time: 1 hour 45 minutes
- Yield: 6 sub rolls 1x
- Category: Bread
- Method: Baking
- Cuisine: American
Ingredients
Dough Ingredients
- 1 Cup Whole Milk (245g, 110-115℉)
- 1 Tablespoon + 2 Teaspoons Sugar (30g)
- 2 ½ Teaspoons Active Dry Yeast (11g, one packet)
- 3 ¼ Cups Bread Flour (450g)
- 2 Teaspoons Fine Sea Salt (12g)
- 2 Eggs (beaten)
- 3 Tablespoons Unsalted Butter (41g, cold, cubed)
Egg Wash
- 1 Egg White (beaten)
- 1 Tablespoon Water
Instructions
- Bloom the yeast: In a medium-sized bowl, combine the warm milk, sugar, and active dry yeast. Allow the mixture to sit for 5 to 10 minutes until it becomes frothy, indicating the yeast is active.
- Mix dry ingredients: While the yeast is blooming, combine the bread flour and fine sea salt in the bowl of a stand mixer fitted with a dough hook.
- Combine wet and dry ingredients: Add the yeast mixture and beaten eggs into the bowl with flour and salt. Knead on low speed for 3 to 5 minutes until a shaggy dough forms, scraping down the sides as needed to incorporate all ingredients.
- Add butter and knead dough: Incorporate the cold, cubed unsalted butter into the dough and continue kneading for an additional 8 to 10 minutes until the butter is fully incorporated and the dough is smooth and elastic. The dough ball should weigh approximately 880 grams at this stage.
- Form dough ball: Transfer the dough onto a lightly floured surface and shape it into a tight ball to prepare for the first rise.
- First proof: Lightly grease a large bowl and place the dough ball inside, turning it to coat lightly with oil. Cover the bowl and let the dough rest for 1 hour or until it has doubled in size.
- Divide and shape dough: Punch down the risen dough onto a floured surface and divide it into six equal pieces, about 140 grams each. Roll each piece into a ball.
- Roll into rectangles and shape rolls: Using a rolling pin, flatten each dough ball into a rectangle approximately 9 inches wide by 5 inches tall, with a thickness between ¼ to ½ inch. Starting from the long side, roll the dough tightly into a log. Pinch the seam shut and place the rolls seam side down on a parchment-lined baking sheet.
- Second proof: Cover the shaped rolls with a damp kitchen towel or a second baking sheet and let them rise for 30 minutes to puff up.
- Preheat oven: While the rolls are proofing, preheat your oven to 400°F (204°C).
- Apply egg wash: Mix the beaten egg white with water in a small bowl and gently brush this over the surface of the risen rolls for a shiny golden crust.
- Score the dough: Using a lame, razor blade, or sharp kitchen knife, score each roll with three ¼-inch deep slashes to allow steam to escape and encourage expansion during baking.
- Bake the rolls: Bake the rolls in the preheated oven for 15 minutes or until golden brown and the internal temperature reaches 195-200°F (90-93°C). If they need more time, add 1 to 3 minutes as necessary.
- Cool before slicing: Remove the rolls from the oven and transfer them to a wire rack. Let them cool completely before slicing or serving to ensure the crumb sets perfectly.
Notes
- Make sure the milk is warm but not hot (110-115℉) to activate the yeast properly.
- Kneading time is crucial — the dough should be smooth and elastic after adding butter.
- Scoring the rolls helps them expand evenly and develop a nice crust.
- Allow the rolls to cool completely before slicing to prevent them from becoming gummy.
- Rolls can be stored in an airtight container for up to 2 days or frozen for longer storage.
Keywords: handmade sub rolls, sandwich rolls, homemade bread, soft sub rolls, baked rolls, bread recipe