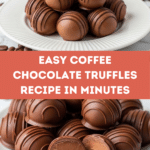
Easy Coffee Truffles Recipe
Introduction
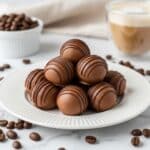
These easy coffee truffles combine rich dark chocolate with a hint of instant coffee for a deliciously smooth and indulgent treat. Perfect for chocolate lovers looking for a quick no-fuss dessert to impress friends or enjoy at home.

Ingredients
- 90 ml (1/3 cup + 2 tsp) thickened or whipping cream
- 200 g (7 oz) dark cooking chocolate (40% cocoa solids), finely chopped
- 1 tbsp instant coffee granules
- 125 g (4.5 oz) milk cooking chocolate
Instructions
- Step 1: Line a small, flat dish (about 13 x 18 cm / 7 x 5 inches) with non-stick baking paper. Also, line a baking tray with non-stick baking paper and set aside.
- Step 2: Heat the cream in a small saucepan over low heat until just below boiling point.
- Step 3: Turn off the heat. Add the chopped dark chocolate and instant coffee granules. Stir gently until the chocolate is melted and the mixture is smooth.
- Step 4: Pour the mixture into the prepared dish and refrigerate for about 2 hours, or until firm enough to roll into balls.
- Step 5: Using a small ice cream scoop or teaspoon, scoop about 3 teaspoons of the mixture and roll into compact balls. If the mixture is too firm, let it sit for 5–10 minutes before rolling. Place the balls on the lined baking tray.
- Step 6: Refrigerate the rolled balls for at least 30 minutes, or until firm.
- Step 7: While rolling, keep your hands cool using an ice pack or frozen peas, and keep paper towels nearby to dry your hands.
- Step 8: Break the milk chocolate into even pieces. Place in a bowl over a pan of barely simmering water, making sure no water touches the chocolate. Stir occasionally until nearly melted, then remove from heat and let residual warmth melt the rest.
- Step 9: Allow the melted chocolate to cool for about 15 minutes to avoid softening the truffles during coating.
- Step 10: Remove the truffles from the fridge. Dip each ball into the melted milk chocolate using two small forks to coat them completely. Return coated truffles to the lined tray.
Tips & Variations
- Use good-quality chocolate with at least 40% cocoa for the best flavor and texture.
- Replace instant coffee granules with espresso powder for a stronger coffee taste.
- Roll truffles in cocoa powder, chopped nuts, or desiccated coconut instead of coating them in milk chocolate for variety.
- If the mixture becomes too soft while working, refrigerate it briefly before continuing to handle.
Storage
Store the truffles in an airtight container in the refrigerator for up to one week. For longer storage, freeze them for up to one month and thaw in the fridge before serving. Allow refrigerated truffles to sit at room temperature for a few minutes before enjoying for the best texture.
How to Serve
Serve this delicious recipe with your favorite sides.
FAQs
Can I use regular cream instead of thickened or whipping cream?
Thickened or whipping cream is preferred for the right texture. Regular cream with lower fat content might not set as well, affecting the firmness of the truffles.
How do I prevent the melted chocolate from seizing?
Make sure no water comes into contact with the chocolate while melting. Use a dry bowl and stir gently over simmering water. If chocolate begins to seize, adding a small amount of warm cream can help smooth it out.
PrintEasy Coffee Truffles Recipe
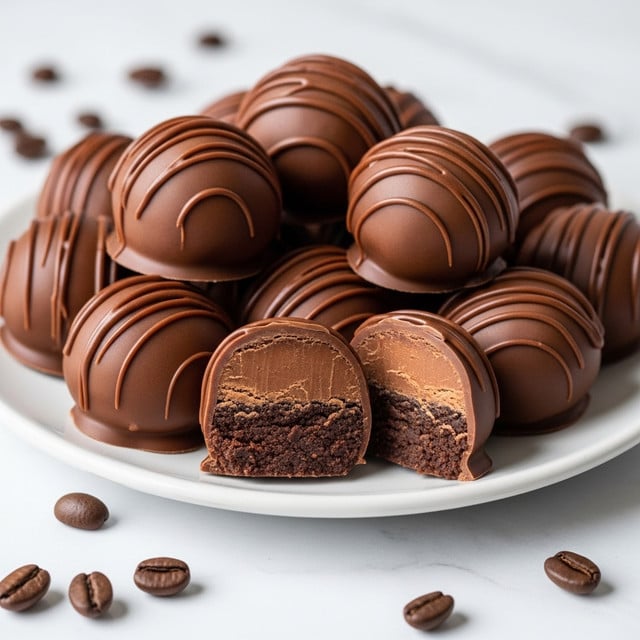
Delicious and easy-to-make Coffee Truffles featuring a smooth blend of dark chocolate, instant coffee, and cream, coated with creamy milk chocolate. These rich, bite-sized treats are perfect for coffee lovers and make an elegant homemade gift or dessert.
- Prep Time: 15 minutes
- Cook Time: 10 minutes
- Total Time: 2 hours 55 minutes
- Yield: Approximately 20–24 truffles 1x
- Category: Dessert
- Method: Stovetop
- Cuisine: International
Ingredients
For the Truffle Base
- 90 ml (1/3 cup + 2 tsp) thickened/whipping cream
- 200 g (7 oz) dark cooking chocolate (40% cocoa solids), finely chopped
- 1 tbsp instant coffee granules
For the Coating
- 125 g (4.5 oz) milk cooking chocolate
Instructions
- Prepare the dish and tray: Line a small, flat dish approximately 13 x 18 cm (7 x 5 inches) with non-stick baking paper. Also, line a baking tray with non-stick baking paper and set aside for the truffles.
- Heat the cream: Pour the thickened cream into a small saucepan. Warm it gently over low heat until it reaches just below boiling point to avoid scorching.
- Combine chocolate and coffee: Turn off the heat and immediately add the finely chopped dark chocolate and instant coffee granules into the hot cream. Stir continuously until the chocolate has fully melted and the mixture is smooth and glossy.
- Chill the mixture: Pour the chocolate-coffee mixture into the prepared lined dish. Place it in the refrigerator for approximately 2 hours or until the mixture is firm enough to handle and roll into balls.
- Form the truffle balls: Using a small ice cream scoop or teaspoon, scoop about 3 level teaspoons of the chilled mixture. Roll each portion into a small ball, pressing firmly as you roll to compact the mixture. If too firm, allow the mixture to sit for 5-10 minutes to soften slightly.
- Refrigerate the formed balls: Place the rolled truffle balls onto the prepared tray and refrigerate for at least 30 minutes to firm up before coating.
- Keep hands cool: While rolling the truffles, keep an ice pack or a pack of frozen peas nearby to cool your hands and prevent the chocolate from melting. Use paper towels to regularly dry your hands.
- Melt the coating chocolate: Break the milk chocolate into even-sized pieces and place them in a heatproof bowl. Set this bowl over a pan of barely simmering water, ensuring no water contacts the chocolate. Stir occasionally until the chocolate is almost melted, then remove from heat to allow residual warmth to finish melting.
- Cool the coating chocolate: Let the melted chocolate cool for about 15 minutes. This prevents the truffles from softening upon coating.
- Coat the truffles: Remove the truffles from the fridge. Dip each ball one at a time into the melted milk chocolate. Using two small forks, carefully move each truffle around to ensure full coating. Place coated truffles back on the lined tray.
Notes
- Use thickened or whipping cream for a rich texture; avoid using low-fat cream which won’t set properly.
- Finely chopping the dark chocolate helps it melt evenly for a smooth mixture.
- Instant coffee granules provide a strong, pronounced coffee flavor without the bitterness of brewed coffee.
- It’s helpful to keep an ice pack nearby while rolling to prevent the chocolate from melting on your hands.
- The size of your dish affects the thickness of the mixture; a smaller dish results in thicker truffles that may require longer chilling.
Keywords: coffee truffles, chocolate truffles, easy truffle recipe, homemade chocolate, no bake dessert, coffee dessert