Healthy Homemade Butterfingers Recipe
Introduction
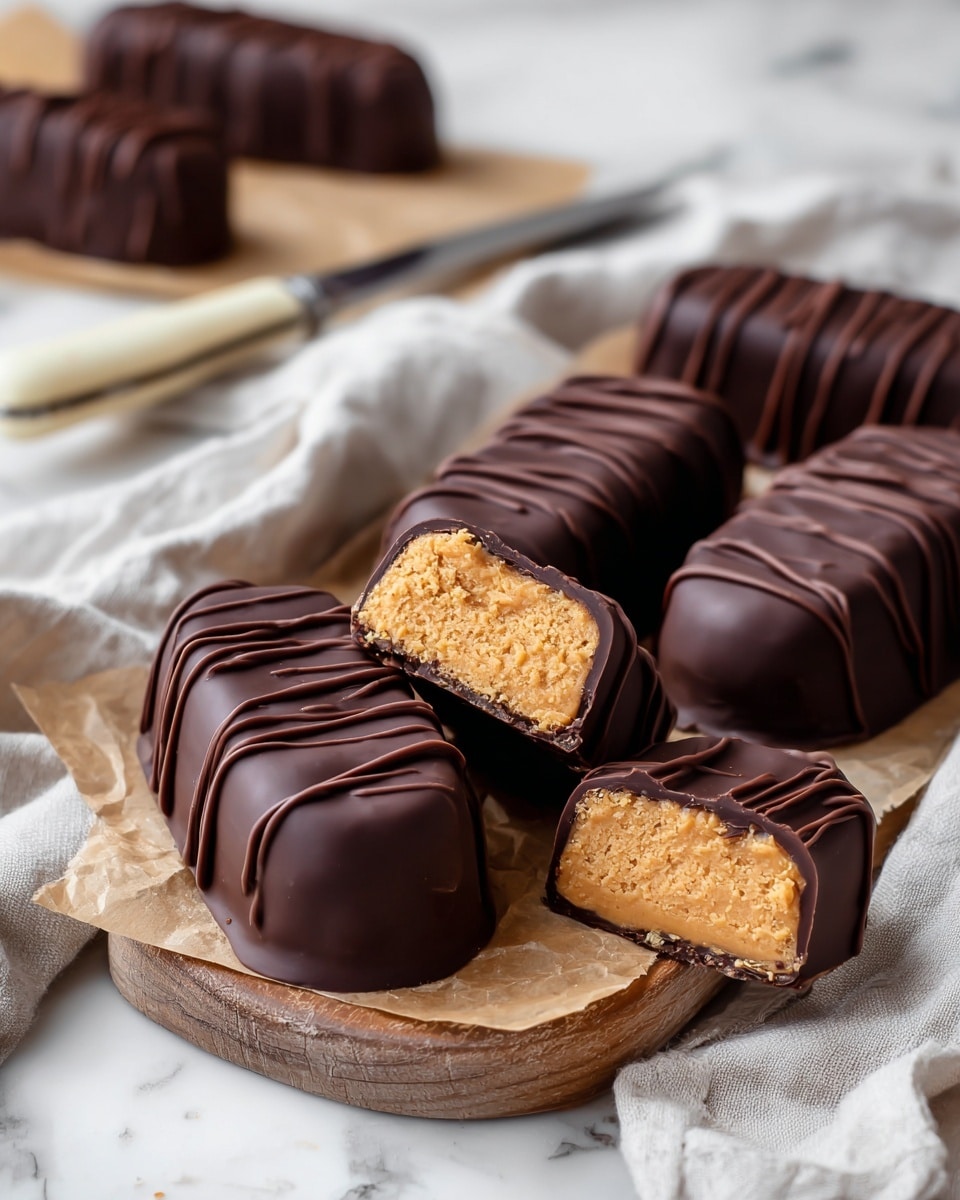
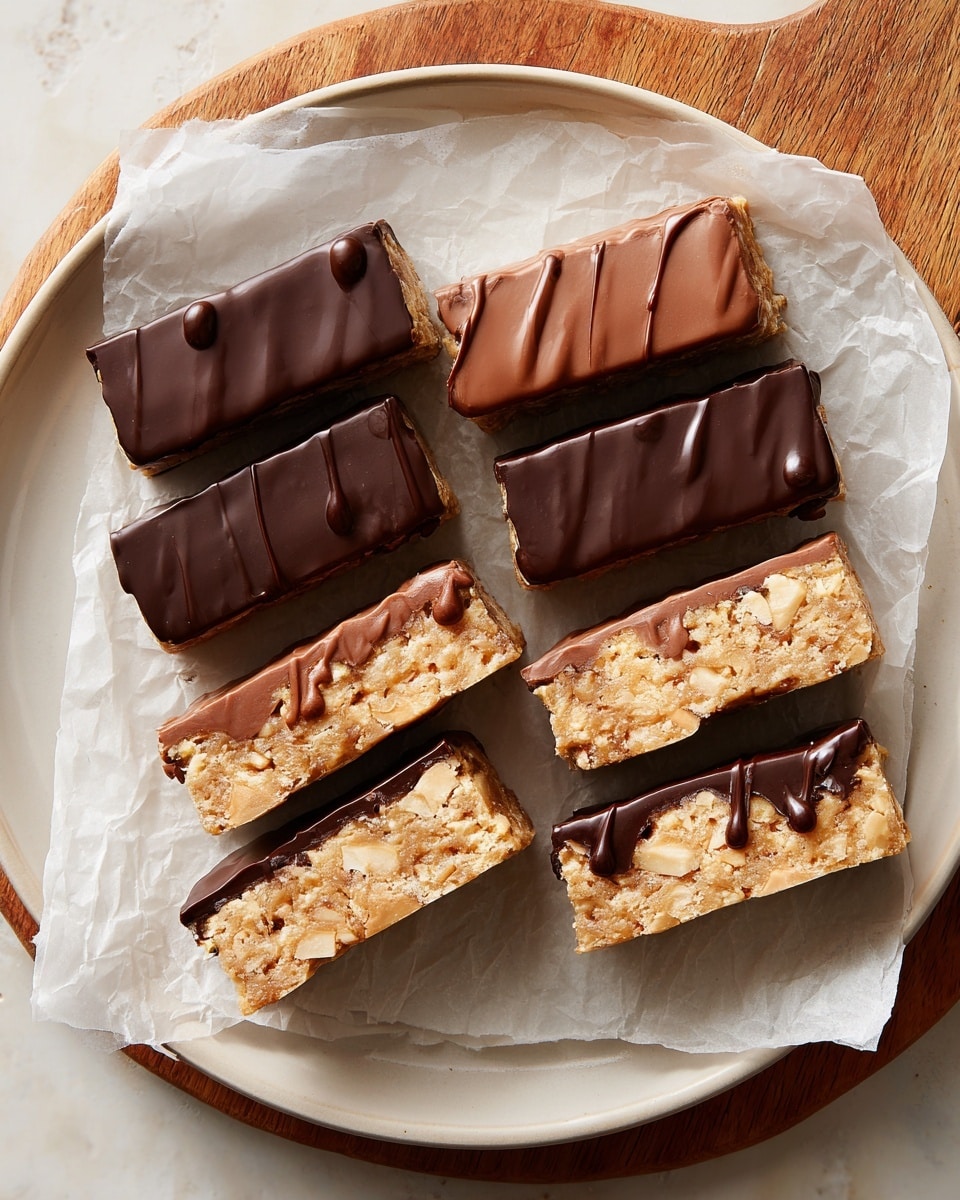
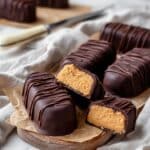
If you love the crunchy, peanut buttery goodness of Butterfingers but want a healthier, homemade alternative, this recipe is for you. With simple ingredients and no artificial additives, these bars offer a delicious treat that’s easy to make and enjoy.
Ingredients
- 1 cup peanut butter
- 1/3 cup honey
- 1/2 tsp vanilla extract
- 1/2 tsp sea salt
- 1 + 3/4 cup cornflake cereal
- 1 cup chocolate chips (dairy free, if needed)
- 1 tsp coconut oil
Instructions
- Step 1: In a saucepan over medium-low heat, warm the peanut butter, honey, vanilla, and sea salt for 2–4 minutes, stirring occasionally until the mixture is smooth and heated through.
- Step 2: Transfer the peanut butter mixture to a large mixing bowl and add the cornflake cereal. Stir to combine, gently crushing the cereal as you mix to ensure even coating.
- Step 3: Shape the mixture into 12–14 small logs and place them on a parchment-lined plate or baking sheet. Freeze for 1 hour to set.
- Step 4: Melt the chocolate chips with the coconut oil either in the microwave or on the stove, taking care not to burn the chocolate.
- Step 5: Dip each frozen butterfinger log into the melted chocolate, letting any excess drip off. Return them to the parchment-lined surface and freeze again until the chocolate is firm, about 10 minutes.
- Step 6: Store your homemade Butterfingers in the refrigerator or freezer until ready to enjoy.
Tips & Variations
- For extra crunch, lightly toast the cornflakes before mixing them into the peanut butter.
- Swap peanut butter for almond or sunflower seed butter to accommodate allergies or preferences.
- Use dark chocolate chips to reduce sweetness or choose dairy-free chips for a vegan option.
Storage
Keep your Butterfingers stored in an airtight container in the refrigerator for up to a week or in the freezer for up to a month. Thaw briefly at room temperature before serving if frozen. This helps maintain their texture and flavor.
How to Serve
Serve this delicious recipe with your favorite sides.
FAQs
Can I use crunchy peanut butter for this recipe?
Yes, crunchy peanut butter can add extra texture, but it may make shaping the logs slightly more challenging. If you prefer smoother bars, stick with creamy peanut butter.
What is the best way to melt chocolate without burning it?
The safest method is to melt the chocolate gently using short intervals in the microwave, stirring frequently. Alternatively, use a double boiler on the stove to melt the chocolate evenly and avoid scorching.
PrintHealthy Homemade Butterfingers Recipe
This Healthy Homemade Butterfingers recipe offers a delicious, nutritious twist on the classic candy bar using peanut butter, honey, and cornflakes. Coated in a smooth layer of melted chocolate, these bars provide a satisfying crunch and rich flavors without artificial ingredients or preservatives. Perfect for a homemade treat that’s quick to prepare and freezer-friendly.
- Prep Time: 10 minutes
- Cook Time: 4 minutes
- Total Time: 1 hour 20 minutes
- Yield: 12–14 bars 1x
- Category: Snack
- Method: Stovetop
- Cuisine: American
- Diet: Gluten Free
Ingredients
Main Ingredients
- 1 cup peanut butter
- 1/3 cup honey
- 1/2 tsp vanilla extract
- 1/2 tsp sea salt
- 1 + 3/4 cups cornflake cereal
Chocolate Coating
- 1 cup chocolate chips (dairy free if needed)
- 1 tsp coconut oil
Instructions
- Heat peanut butter mixture: In a saucepan over medium-low heat, combine peanut butter, honey, vanilla extract, and sea salt. Heat for 2-4 minutes, stirring frequently until the mixture is heated through and smooth.
- Combine with cereal: Transfer the peanut butter mixture to a large mixing bowl containing the cornflake cereal. Stir well, gently crushing some of the cereal as you mix to ensure all pieces are evenly coated.
- Form logs: Shape the mixture into 12-14 small logs. Arrange them on a parchment-lined plate or baking sheet and freeze for 1 hour to set.
- Melt chocolate coating: Melt the chocolate chips and coconut oil together in a microwave or on the stovetop, taking care not to scorch the chocolate. Stir until smooth.
- Coat and chill: Dip each frozen butterfinger log into the melted chocolate, letting excess drip off. Place coated bars back on the parchment-lined plate and freeze for about 10 minutes until the chocolate hardens. Store finished bars in the refrigerator or freezer.
Notes
- Use dairy-free chocolate chips if you require a dairy-free or vegan-friendly version.
- Crushing the cereal slightly helps the peanut butter mixture coat the flakes better for improved texture.
- These bars are best stored chilled to maintain firmness and freshness.
- Freezing the logs before dipping ensures the coating sets quickly and neatly.
Keywords: Healthy Butterfingers, Homemade Candy Bars, Peanut Butter Snack, Gluten Free Treat, No Bake, Chocolate Coated Snack