Homemade Classic White Bread Recipe
Introduction
Making homemade bread is a rewarding and delicious experience that fills your kitchen with irresistible aromas. This simple recipe yields soft, flavorful loaves perfect for sandwiches or toast, even for beginners. With a bit of patience and love, you’ll have fresh bread straight from your oven.
Ingredients
- 2 cups warm water (105-115°F / 474g)
- 1 tablespoon active dry yeast*
- 1/4 cup honey or sugar (85g honey or 50g sugar)
- 2 teaspoons salt
- 2 tablespoons oil (canola or vegetable) (30 ml)
- 4 to 5 1/2 cups all-purpose or bread flour* (500g-688g)
Instructions
- Step 1: In a large bowl or stand mixer, combine the yeast, warm water, and a pinch of sugar or honey. Let it rest for 5 to 10 minutes until foamy and bubbly to proof the yeast. If it doesn’t foam, your yeast may be inactive and you should start again with fresh yeast.
- Step 2: Add the remaining sugar or honey, salt, oil, and 3 cups of flour. Mix until combined.
- Step 3: Add another cup of flour and mix again. Continue adding flour, ½ cup at a time, while mixing. The dough should pull away from the sides of the bowl and feel smooth and elastic, slightly sticky but manageable. Add more flour if needed.
- Step 4: Knead the dough for 4-5 minutes on medium speed with the mixer, or knead by hand on a lightly floured surface for 5-8 minutes.
- Step 5: Lightly grease a large bowl with oil or cooking spray. Place the dough inside and turn to coat all sides. Cover with a dish towel or plastic wrap and let it rise in a warm place until doubled in size, about 1 1/2 hours.
- Step 6: Prepare two 9×5 inch bread pans by spraying all sides with cooking spray. Optionally, line the bottom with parchment paper for easier removal.
- Step 7: Punch down the risen dough to release air bubbles. Divide the dough into two equal portions. Shape each into a long loaf and place into the prepared pans.
- Step 8: Cover the pans with a lightweight dry towel or sprayed plastic wrap and let the dough rise again for 45 minutes to 1 hour, until it has risen about 1 inch above the pans.
- Step 9: Preheat your oven to 350°F (175°C). Bake the loaves for 30-33 minutes until golden brown. Tap the top of a loaf gently; it should sound hollow when done.
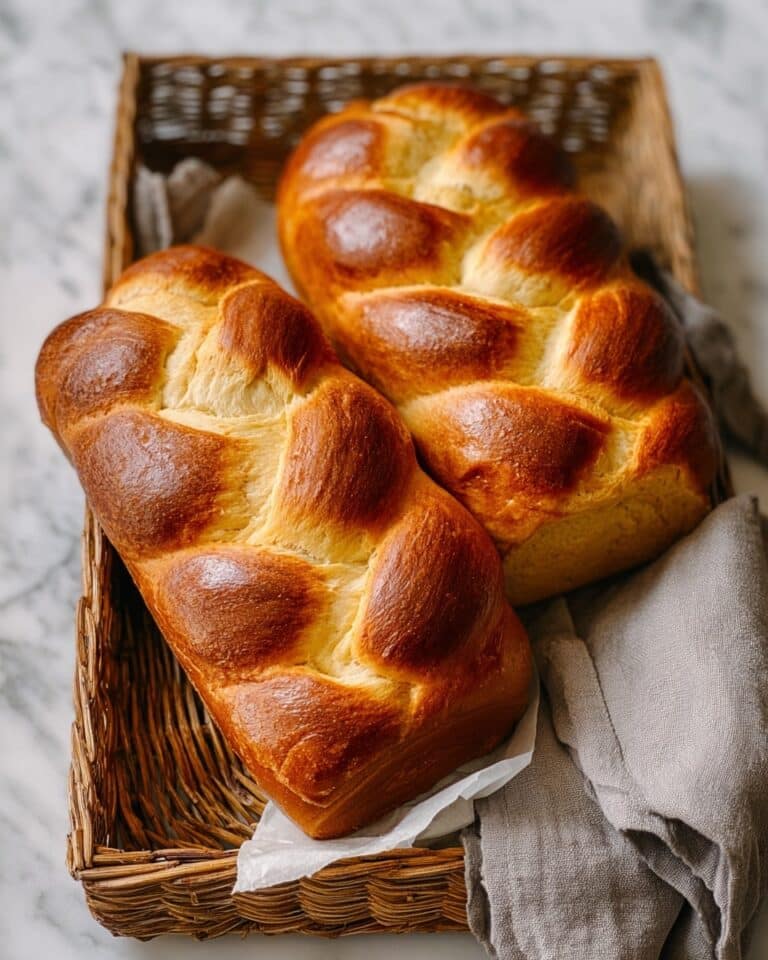
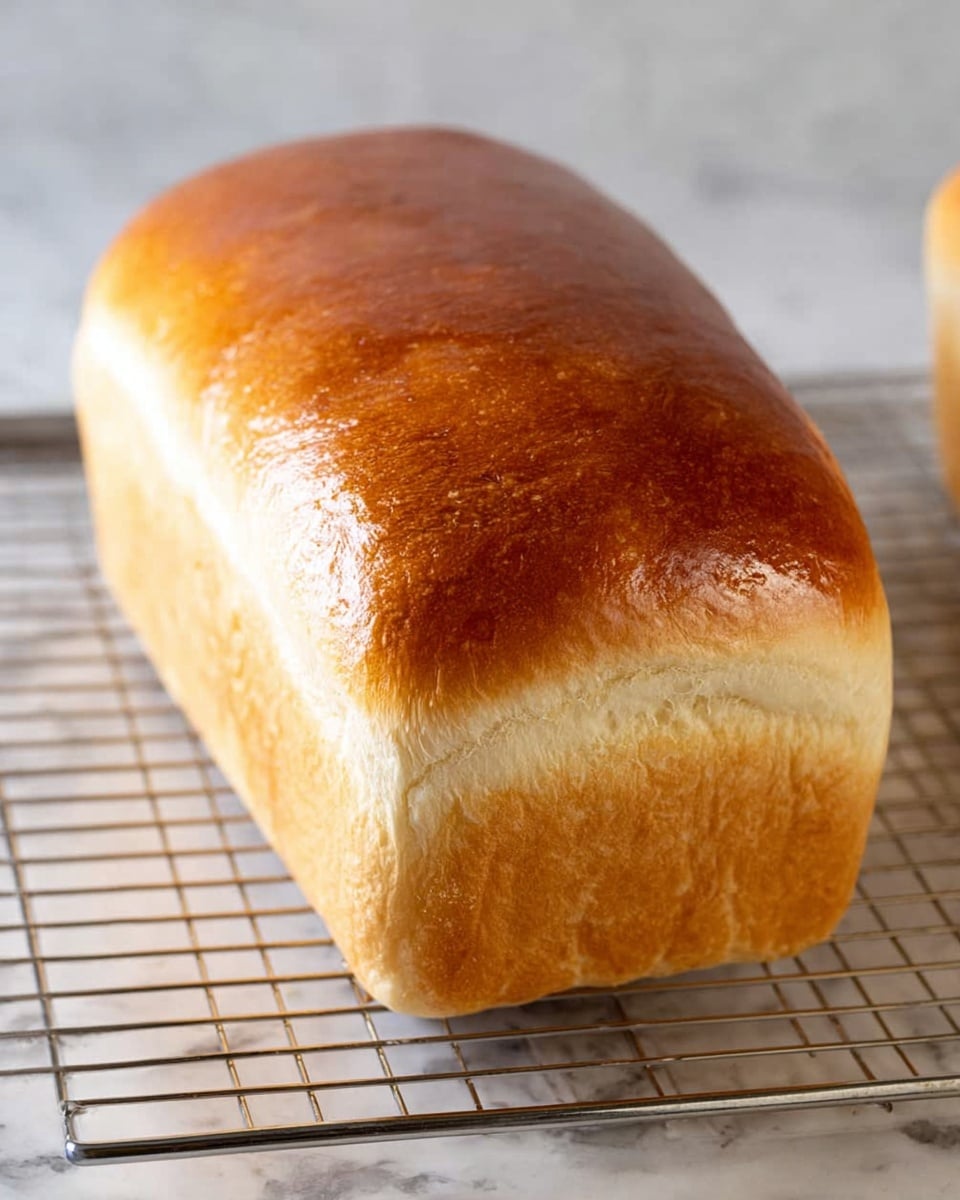
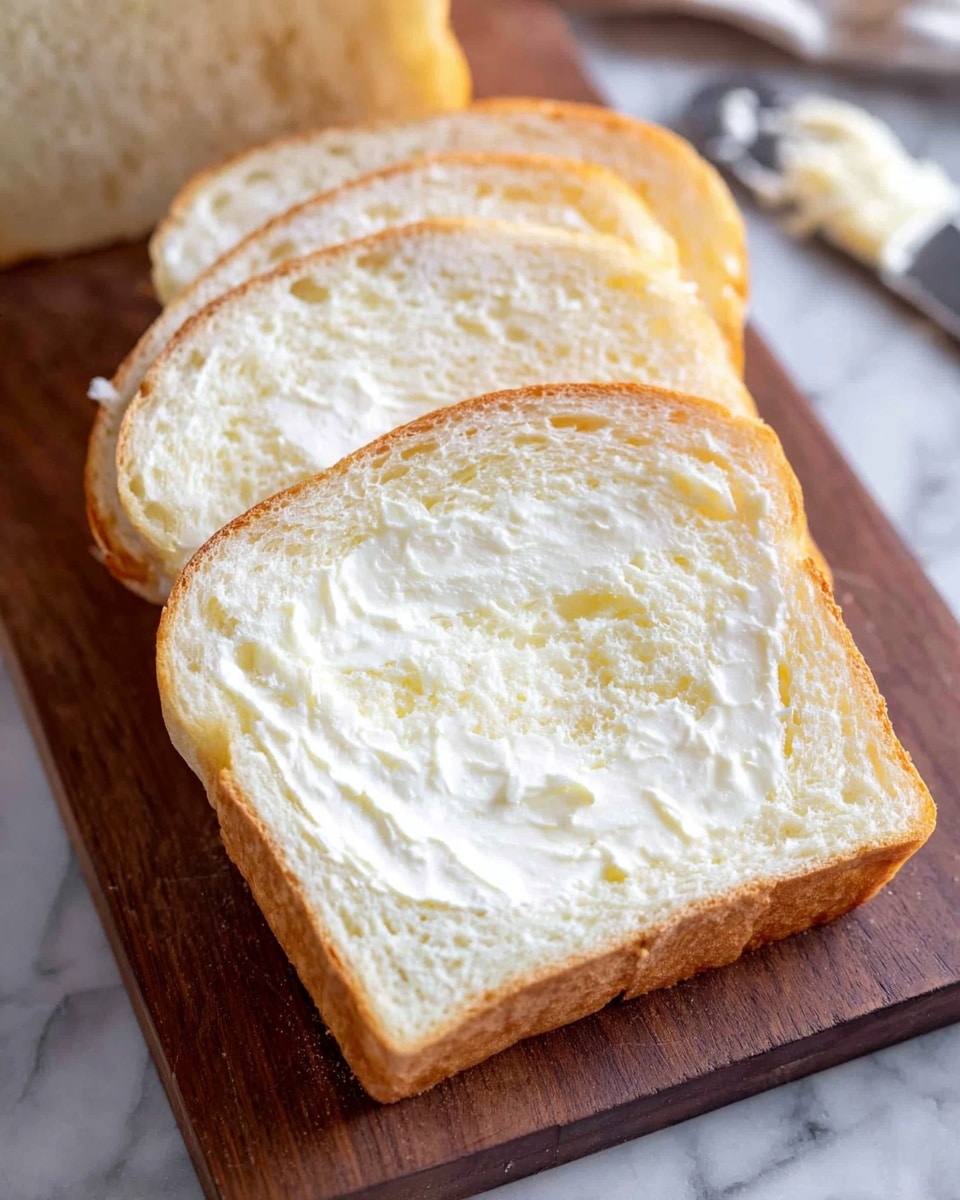
- Step 10: Remove the bread from the pans and invert onto a wire rack. Brush the tops with butter and let cool for at least 10 minutes before slicing.
- Step 11: Store cooled bread in an airtight container or bag for 2-3 days at room temperature or up to 5 days in the refrigerator.
Tips & Variations
- Use bread flour for a chewier texture or all-purpose flour for a softer crumb.
- Proof yeast in water that’s too hot or cold can kill the yeast; keep it between 105-115°F for best results.
- Enhance flavor by adding herbs like rosemary or thyme to the dough.
- For a sweeter bread, increase honey or sugar slightly.
Storage
Keep your bread in an airtight container or tightly sealed bag at room temperature to maintain freshness for 2-3 days. You can also refrigerate it for up to 5 days, though this may dry the bread slightly. To refresh, warm slices briefly in a toaster or oven before serving.
How to Serve
Serve this delicious recipe with your favorite sides.
FAQs
Can I use instant yeast instead of active dry yeast?
Yes, you can use instant yeast. It does not need to be proofed in water first; simply mix it directly with the dry ingredients and reduce the initial water slightly. The rise times may also be faster.
Why is my bread dense and heavy?
Dense bread often results from inactive yeast, insufficient kneading, or improper rising conditions. Make sure to proof your yeast until bubbly, knead the dough until smooth and elastic, and allow the dough to rise fully in a warm, draft-free place.
PrintHomemade Classic White Bread Recipe
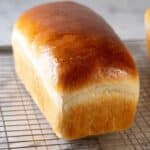
This homemade bread recipe creates soft, fluffy, and flavorful loaves perfect for sandwiches, toast, or accompanying any meal. Made with simple ingredients like warm water, yeast, honey, and flour, it guides you through proofing, kneading, rising, and baking to achieve a classic golden-brown crust and a tender crumb inside. Ideal for both beginner and experienced bakers, this bread is easy to prepare and yields two delicious loaves.
- Prep Time: 20 minutes
- Cook Time: 33 minutes
- Total Time: 2 hours 45 minutes
- Yield: 2 loaves (9×5 inch each) 1x
- Category: Bread
- Method: Baking
- Cuisine: American
Ingredients
Liquid Ingredients
- 2 cups warm water (105-115°F / 474g)
- 1/4 cup honey or sugar (85g honey or 50g sugar)
- 2 tablespoons oil (canola or vegetable) (30 ml)
Dry Ingredients
- 1 tablespoon active dry yeast
- 2 teaspoons salt
- 4 – 5 1/2 cups all-purpose or bread flour (500g – 688g)
Instructions
- Prepare the Dough: In a large bowl or stand mixer, combine the active dry yeast, warm water, and a pinch of sugar or honey. Let it rest for 5 to 10 minutes until the mixture is foamy and bubbly, which proves that the yeast is active and ready to use. If no foam appears, the yeast is inactive and should be replaced.
- Add Remaining Ingredients: Stir in the remaining sugar or honey, salt, oil, and 3 cups of flour into the yeast mixture. Mix until just combined.
- Add More Flour: Gradually add an additional cup of flour and mix again. While the mixer is running, add flour ½ cup at a time until the dough starts to pull away from the sides of the bowl. The dough should be smooth, elastic, and slightly sticky to the touch; add more flour if necessary to achieve this consistency.
- Knead the Dough: Knead the dough on medium speed with the mixer for 4-5 minutes or by hand on a lightly floured surface for 5-8 minutes until smooth and elastic.
- First Rise: Grease a large bowl with oil or non-stick spray. Place the dough inside, turning to coat all sides. Cover with a dish towel or plastic wrap and let it rise in a warm spot until it doubles in size, about 1 1/2 hours.
- Prepare Pans: Spray two 9×5 inch bread pans generously with cooking spray on all sides. Optionally, line the bottoms with a small piece of parchment paper for easy removal.
- Shape the Loaves: Punch down the risen dough to release air bubbles. Divide the dough evenly into two portions, shape each into a long loaf, and place into the prepared pans.
- Second Rise: Cover the pans with a lightweight, dry dish towel or lightly sprayed plastic wrap. Allow the dough to rise again until it has risen about 1 inch above the edges of the pans, approximately 45 minutes to 1 hour.
- Bake: Preheat the oven to 350°F (175°C). Bake the loaves for 30 to 33 minutes, or until the tops are golden brown. To check doneness, tap the top of a loaf gently—the sound should be hollow.
- Cool the Bread: Invert the loaves from the pans onto a wire cooling rack. Brush the tops with softened butter and allow to cool for at least 10 minutes before slicing.
- Storage: Once cooled, store the bread in an airtight container or bag at room temperature for 2 to 3 days, or refrigerate for up to 5 days to maintain freshness.
Notes
- Proof yeast in warm water (105-115°F) to ensure it is active before proceeding.
- Adjust flour quantity as needed for dough consistency; dough should be slightly sticky but manageable.
- Using bread flour will result in a chewier texture compared to all-purpose flour.
- Allowing the dough to rise in a warm environment accelerates yeast activity and improves texture.
- Brushing the baked loaves with butter adds flavor and softens the crust.
- For longer storage, slice and freeze the bread in airtight bags.
- Optional: Lining pans with parchment paper helps prevent sticking and eases loaf removal.
Keywords: homemade bread, yeast bread, soft bread, easy bread recipe, baking bread, simple bread, classic loaf