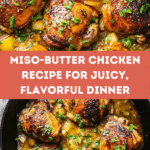
Miso-Butter Chicken: Easy Dinner That Will Wow Your Tastebuds Recipe
Introduction
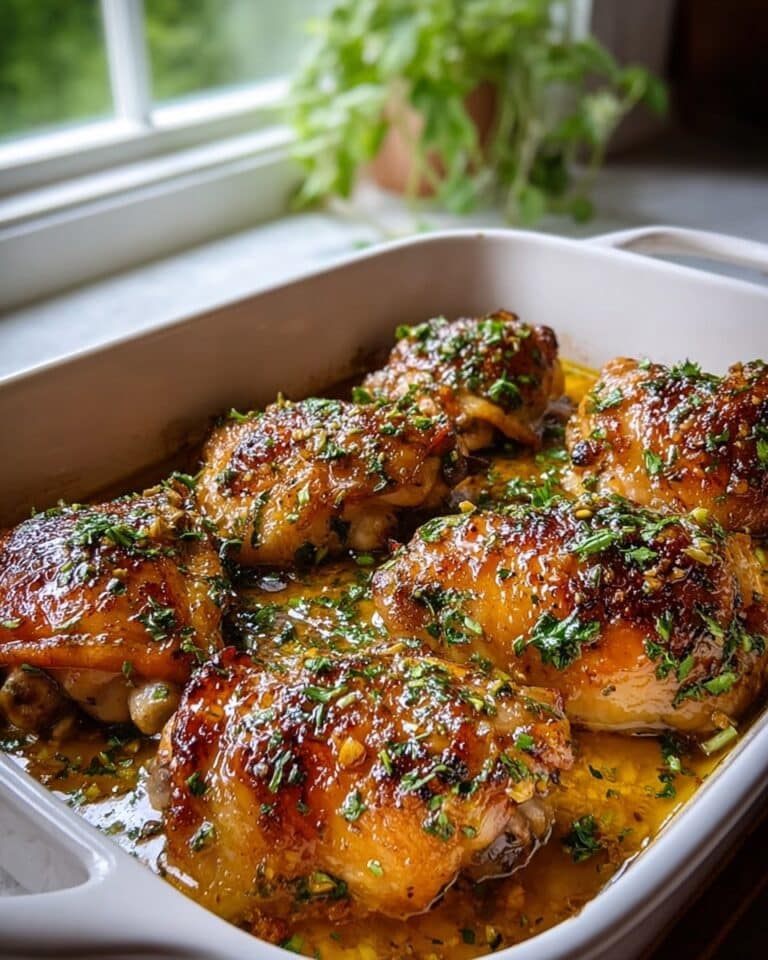
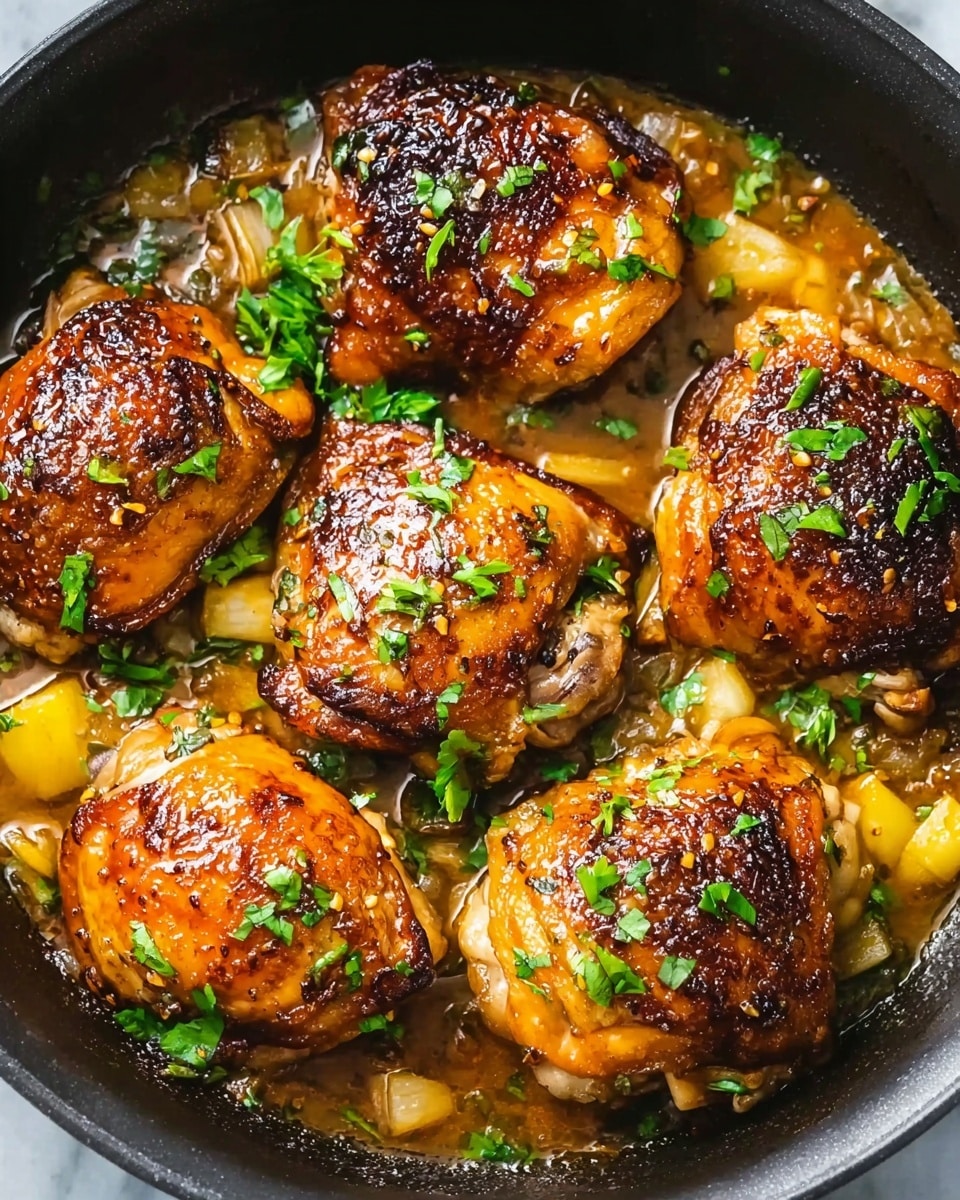
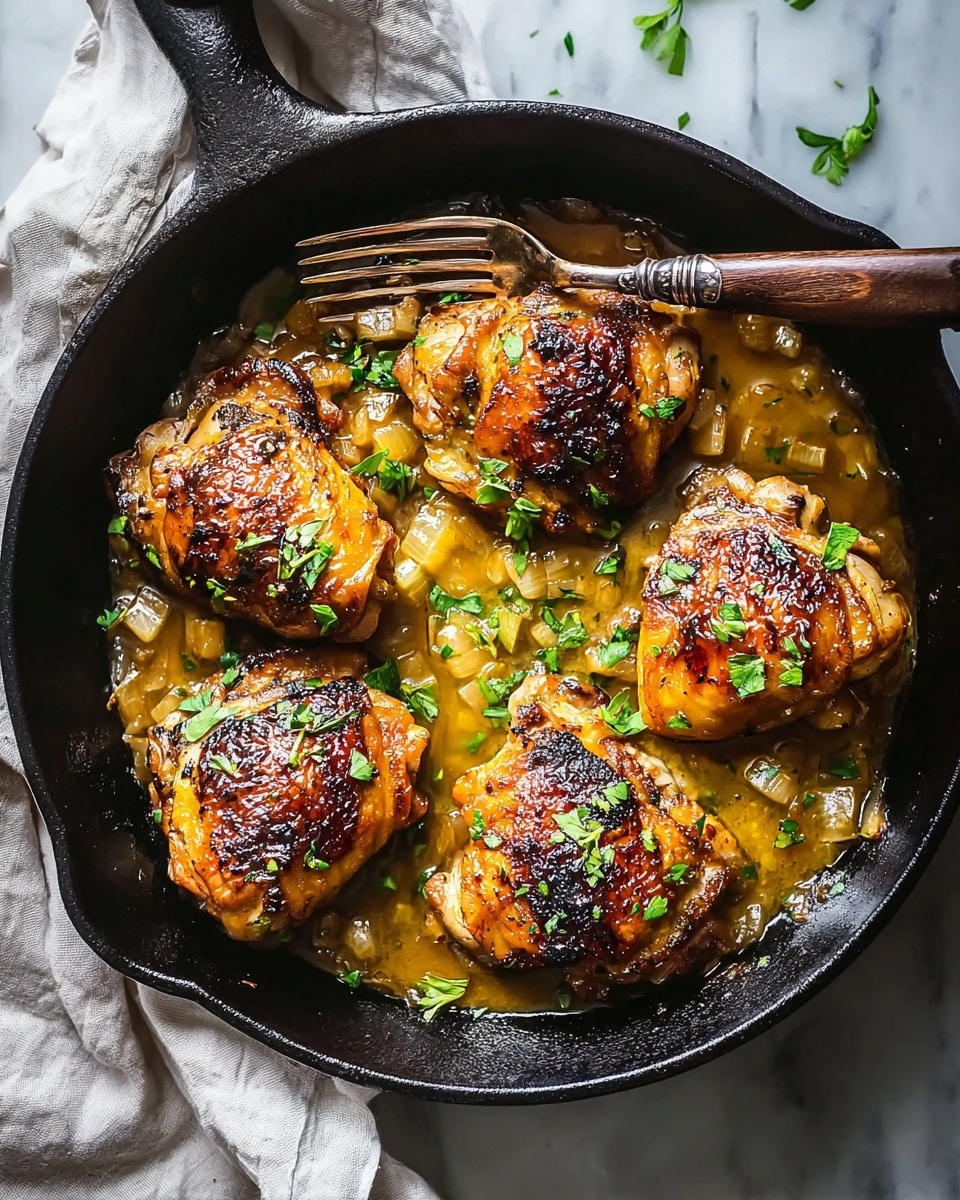
This Miso-Butter Chicken recipe combines savory miso with rich butter for a deeply flavorful dish that’s surprisingly easy to prepare. Tender chicken thighs get a golden, crispy skin and a delightful glaze that will impress any dinner guest.
Ingredients
- 8 pieces skin-on, bone-in chicken thighs (Substitute with boneless thighs for quicker cooking.)
- 4 tablespoons unsalted butter (For a lighter option, olive oil works well.)
- 1/2 cup white miso (Opt for white miso for milder flavor.)
- 3 tablespoons maple syrup (Honey can be used as an alternative.)
- 1 inch piece ginger, grated (Ground ginger can replace it in a pinch.)
- 8 cloves garlic, unpeeled and lightly smashed (Using peeled garlic can save time.)
- 1 tablespoon rice vinegar (Apple cider vinegar is a suitable substitute.)
- Black pepper to taste (For best results, choose fresh cracked pepper.)
- 2 pieces scallions, finely sliced (You can use chives if desired.)
- 2 teaspoons toasted sesame seeds (Feel free to skip if you’re seed-sensitive.)
Instructions
- Step 1: Preheat your oven to 400 degrees F (200 degrees C).
- Step 2: In a large bowl, combine softened butter, white miso, maple syrup, rice vinegar, grated ginger, and black pepper to create the miso-butter mixture.
- Step 3: Massage the miso-butter mixture onto the chicken thighs, gently lifting the skin to ensure the flavor permeates underneath.
- Step 4: Arrange the chicken in a single layer in a roasting pan and place the lightly smashed, unpeeled garlic cloves around the chicken.
- Step 5: Roast the chicken for 30-40 minutes, basting once or twice with the pan juices, until the skin is golden brown and cooked through.
- Step 6: If the chicken isn’t browned enough, broil it for 1-2 minutes, watching carefully to avoid burning.
- Step 7: Remove garlic cloves from the pan, discard the skins, and mash the garlic. Whisk this mashed garlic into the pan drippings to create a rich sauce.
- Step 8: Drizzle the garlic sauce over the chicken, then finish by sprinkling toasted sesame seeds and sliced scallions on top before serving.
Tips & Variations
- For a quicker version, use boneless chicken thighs and reduce cooking time accordingly.
- Substitute honey for maple syrup for a slightly different sweetness profile.
- To save time, peel the garlic before roasting, but leaving skins on adds subtle sweetness and protects garlic from burning.
- Add a squeeze of fresh lemon juice before serving for a bright contrast to the rich flavors.
- Serve with steamed rice or roasted vegetables for a complete meal.
Storage
Store leftover chicken in an airtight container in the refrigerator for up to 3 days. Reheat gently in the oven or microwave to keep the skin as crisp as possible. The garlic sauce can be stored separately and warmed slightly before serving.
How to Serve
Serve this delicious recipe with your favorite sides.
FAQs
Can I use chicken breasts instead of thighs?
Yes, but chicken breasts may dry out faster. Reduce cooking time and keep a close eye on the chicken to prevent overcooking.
What type of miso is best for this recipe?
White miso is recommended for a milder, sweeter flavor that won’t overpower the dish. Red or darker miso can be used but will give a stronger, saltier taste.
PrintMiso-Butter Chicken: Easy Dinner That Will Wow Your Tastebuds Recipe

This Miso-Butter Chicken is a flavorful and easy-to-make dinner that combines the rich umami taste of white miso with the creamy richness of butter, balanced by sweet maple syrup and tangy rice vinegar. Tender chicken thighs are roasted to golden perfection with aromatic garlic and ginger, then finished with toasted sesame seeds and scallions for an impressive meal that will wow your taste buds.
- Prep Time: 15 minutes
- Cook Time: 40 minutes
- Total Time: 55 minutes
- Yield: 8 servings 1x
- Category: Dinner
- Method: Baking
- Cuisine: Japanese Fusion
Ingredients
Chicken
- 8 pieces skin-on, bone-in chicken thighs (Substitute with boneless thighs for quicker cooking)
Miso-Butter Mixture
- 4 tablespoons unsalted butter (For a lighter option, olive oil works well)
- 1/2 cup white miso (Opt for white miso for milder flavor)
- 3 tablespoons maple syrup (Honey can be used as an alternative)
- 1 inch piece ginger, grated (Ground ginger can replace it in a pinch)
- 1 tablespoon rice vinegar (Apple cider vinegar is a suitable substitute)
- Black pepper to taste (For best results, choose fresh cracked pepper)
Additional Ingredients
- 8 cloves garlic, unpeeled, lightly smashed (Using peeled garlic can save time)
- 2 pieces scallions, finely sliced (You can use chives if desired)
- 2 teaspoons toasted sesame seeds (Feel free to skip if you’re seed-sensitive)
Instructions
- Preheat Oven: Preheat your oven to 400 degrees F (200 degrees C) to prepare for roasting the chicken.
- Prepare Miso-Butter Mixture: In a large bowl, combine softened unsalted butter, white miso, maple syrup, rice vinegar, grated ginger, and freshly cracked black pepper; mix thoroughly to create the miso-butter sauce.
- Season Chicken: Massage the miso-butter mixture evenly onto the chicken thighs, carefully lifting the skin to allow the flavors to permeate beneath.
- Arrange Chicken and Garlic: Place the seasoned chicken thighs in a single layer in a roasting pan, and distribute the lightly smashed, unpeeled garlic cloves around the chickens.
- Roast: Roast the chicken in the preheated oven for 30-40 minutes, occasionally basting it once or twice with pan juices until the skin turns a golden brown color.
- Optional Broil: If the chicken skin isn’t browned enough after roasting, broil it for 1-2 minutes to achieve a crispy finish.
- Prepare Garlic Sauce: Remove the chicken from the oven. Mash the cooked garlic cloves, discard the skins, and whisk the garlic into the pan drippings to create a rich sauce.
- Serve: Drizzle the garlic sauce over the roasted chicken, and garnish with toasted sesame seeds and finely sliced scallions before serving.
Notes
- Substitute boneless chicken thighs for quicker cooking, adjusting time accordingly.
- Use olive oil instead of butter for a lighter dish.
- White miso provides a milder flavor, but you can experiment with other miso types for a stronger taste.
- Honey can replace maple syrup as a sweetener.
- If fresh ginger is not available, ground ginger is an acceptable substitute.
- Using peeled garlic cloves saves prep time but roasting with skins adds depth of flavor.
- Feel free to skip toasted sesame seeds if allergic or sensitive to seeds.
- Broiling time may vary – watch carefully to avoid burning.
Keywords: Miso butter chicken, roasted chicken thighs, Japanese chicken recipe, easy dinner, maple syrup chicken, garlic chicken, miso glaze