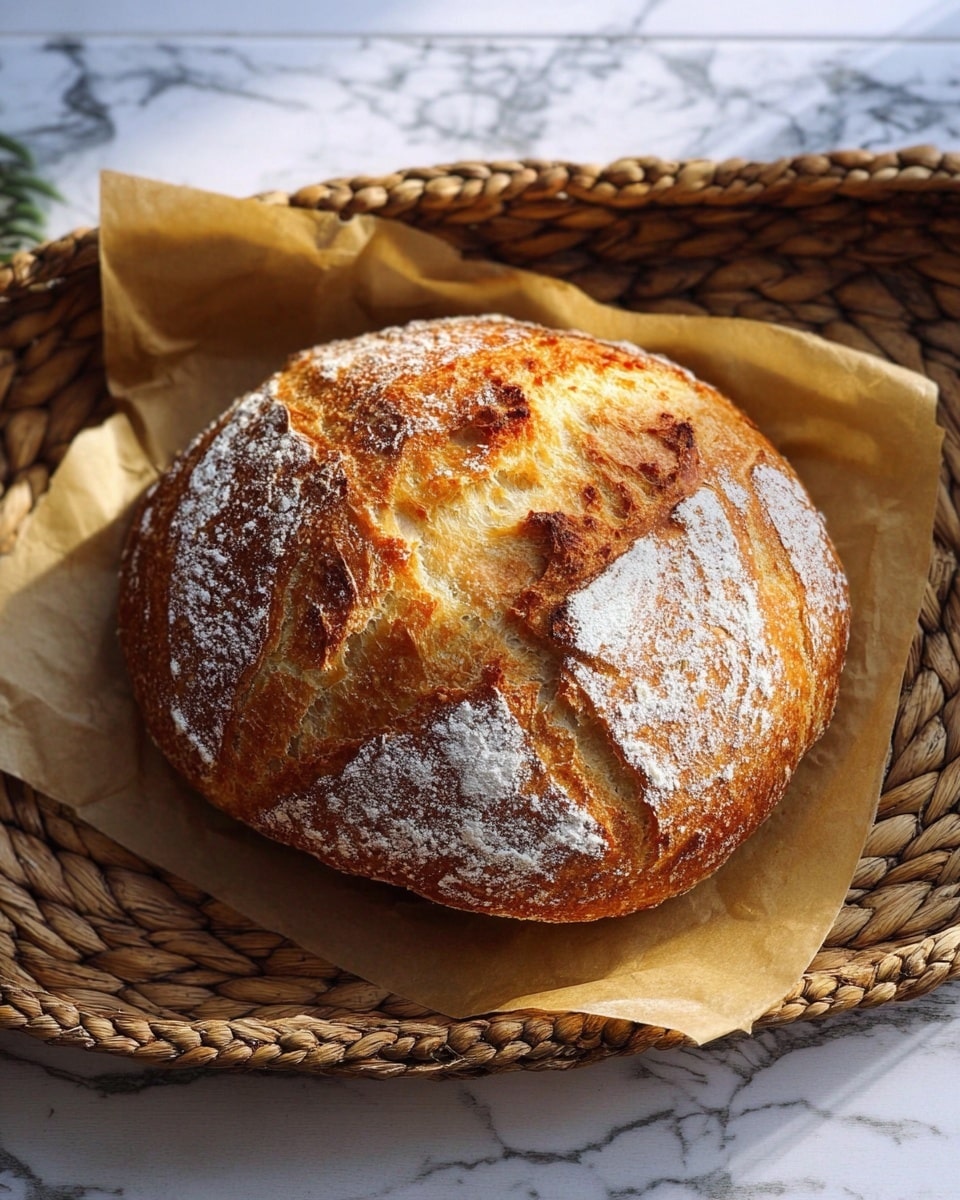
Simple Sourdough Bread Recipe
Introduction
Enjoy baking your own delicious sourdough bread at home with this simple recipe. It uses just four basic ingredients and a straightforward process to create a crusty, flavorful loaf. Whether you’re new to sourdough or looking for a reliable recipe, this guide will walk you through every step.
Ingredients
- 500 g Bread Flour
- 350 g Water
- 50 g Sourdough Starter
- 10 g Salt
Instructions
- Step 1: Combine the sourdough starter and water in a large ceramic or glass bowl, mixing briefly. Add the flour and salt, then mix together until a shaggy dough forms. Avoid using your hands to keep it less messy.
- Step 2: Cover the bowl with a plastic cover or a damp dish towel and let it rest for about 1 hour. This autolyse process hydrates the flour and improves dough texture.
- Step 3: After autolyse, shape the dough into a smooth ball by stretching and folding it around the bowl 20-30 times. The dough should become sticky yet smooth and shiny.
- Step 4: Cover the dough again and let it rest for 30 minutes.
- Step 5: Perform 4-6 sets of stretch and folds over the next 2 hours. For each set, stretch the dough over itself 4 times, leaving about 15 minutes between each set to develop gluten structure.
- Step 6: Cover the dough and let it bulk ferment for several hours. Use a plastic cover to maintain moisture.
- Step 7: Once fermented, shape the dough into a boule or batard. Use a silicone scraper to turn the dough upside down onto a counter, creating surface tension. Lightly dust with rice or semolina flour if needed.
- Step 8: Place the shaped dough smooth side down into a banneton with the seam facing up. Handle gently to preserve air bubbles formed during fermentation.
- Step 9: Cover the dough and refrigerate for at least 5 hours or up to 36 hours for a longer cold ferment. This enhances flavor and crust texture.
- Step 10: Preheat oven to 230°C (450°F) with a Dutch oven inside for about 1 hour to get it very hot. Keep the dough in the fridge until ready to bake.
- Step 11: Remove dough from fridge and place on a sheet of parchment paper. Score the surface with a bread lame or razor blade. Carefully transfer dough and parchment into the hot Dutch oven, cover with the lid, and bake for 30 minutes.
- Step 12: Remove the lid and bake for an additional 10-15 minutes at 210°C (410°F) to develop a golden crust. Then remove from oven and cool on a wire rack.
Tips & Variations
- Use rice flour or semolina flour for dusting during shaping to prevent sticking without affecting flavor.
- Adjust the length of cold fermentation depending on flavor preference—longer fermentation creates more sourness and better crust.
- If you don’t have a Dutch oven, bake the bread on a preheated baking stone and add steam to the oven by placing a tray of water inside.
- Practice scoring with simple patterns before trying more artistic designs for better oven spring and appearance.
Storage
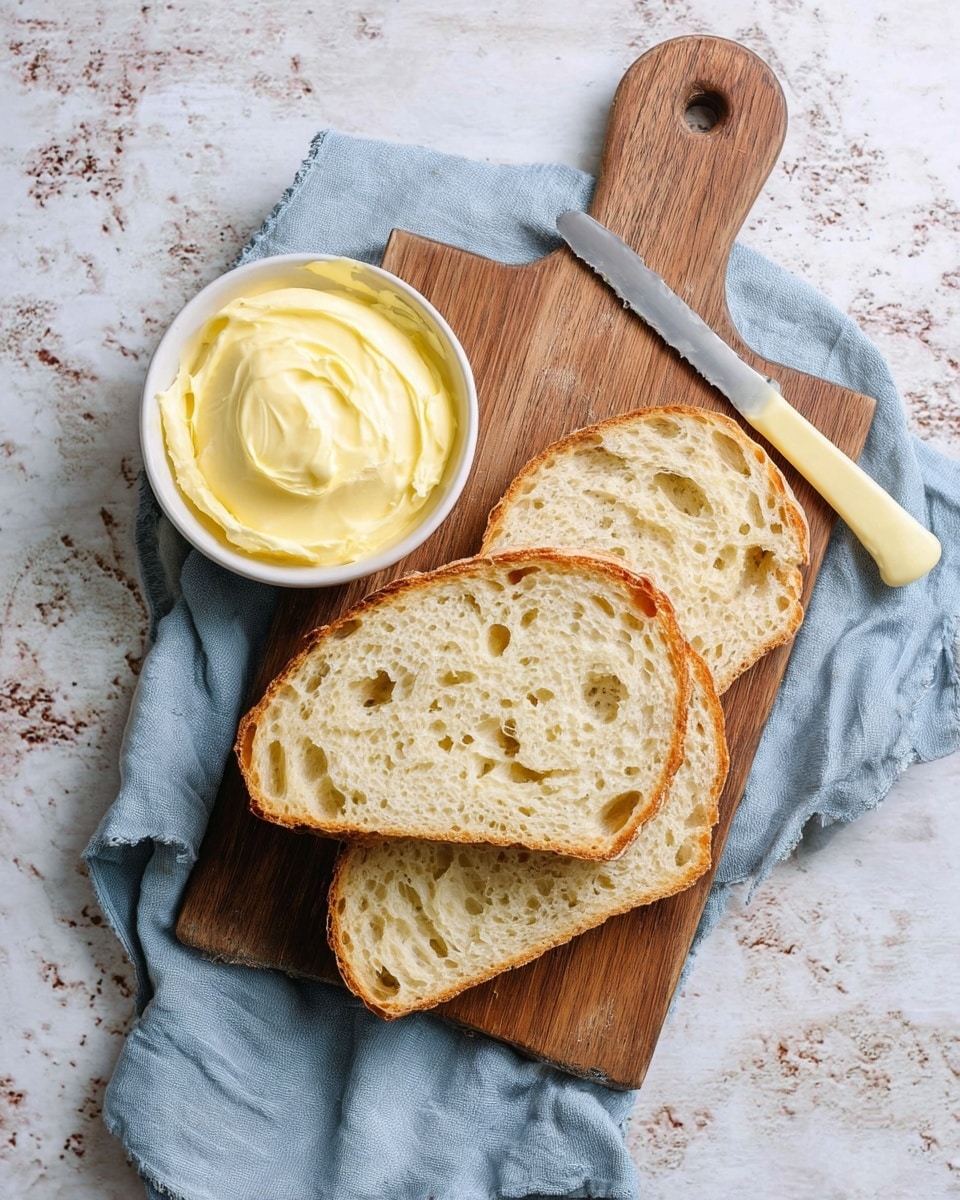
Store sourdough bread at room temperature wrapped loosely in a clean kitchen towel or paper bag to preserve crust crispness. Consume within 3 days for best flavor. To refresh stale bread, sprinkle with water and warm it in the oven at 180°C (350°F) for 5-10 minutes.
How to Serve
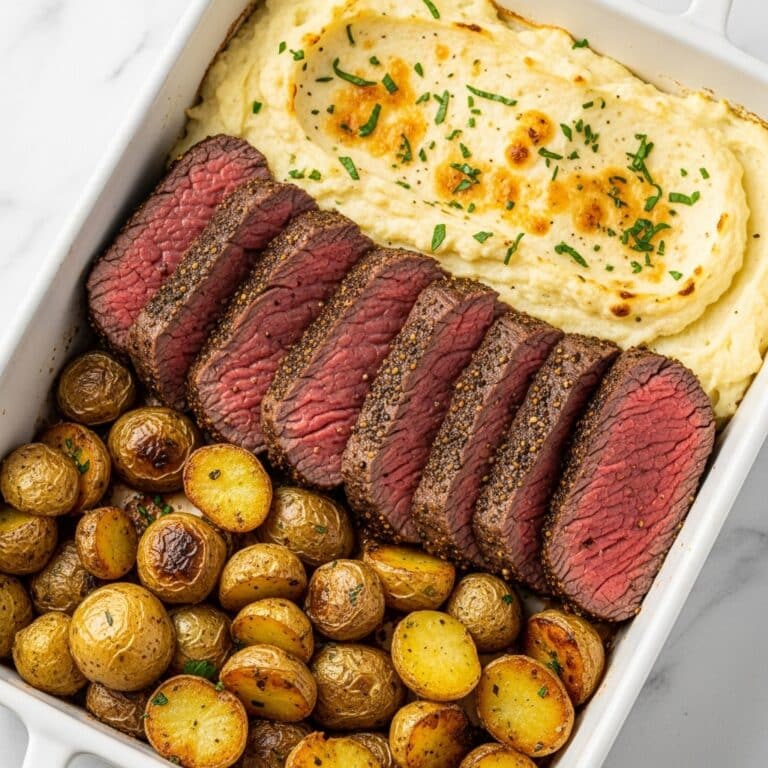
Serve this delicious recipe with your favorite sides.
FAQs
Why is my sourdough dough so sticky?
Sticky dough is normal at various stages due to high hydration and gluten development. It should become smoother and less sticky as you perform stretch and folds and as fermentation progresses.
Can I use all-purpose flour instead of bread flour?
Yes, but bread flour’s higher protein content helps develop better gluten structure, resulting in a chewier texture and better rise. All-purpose flour will work but may produce a slightly different crumb and crust.
PrintSimple Sourdough Bread Recipe

This simple sourdough bread recipe guides you through the traditional process of making artisanal sourdough bread from scratch using basic ingredients and natural fermentation. With detailed steps including autolyse, stretch and fold, bulk fermentation, shaping, cold proofing, and baking in a Dutch oven, this recipe yields a beautifully crusty loaf with a tender crumb and rich sourdough flavor.
- Prep Time: 20 minutes
- Cook Time: 45 minutes
- Total Time: 6 hours (including fermentation and proofing time, excluding cold ferment which can extend up to 36 hours)
- Yield: 1 large loaf (about 800–900 g) 1x
- Category: Bread
- Method: Baking
- Cuisine: Artisan Sourdough
- Diet: Vegetarian
Ingredients
Main Ingredients
- 500 g Bread Flour
- 350 g Water
- 50 g Sourdough Starter
- 10 g Salt
Instructions
- Autolyse – Premixing The Dough: Weigh out your sourdough starter and water into a large ceramic or glass bowl and mix briefly. Add the flour and salt, then mix everything together to form a shaggy dough. Use a dough scraper or spatula for less mess, as the dough will initially be rough and only just combined.
- Rest – Autolyse Stage: Cover the bowl with a plastic cover or damp dish towel and let it sit for 1 hour. This allows the flour to hydrate fully, improving the dough’s texture and gluten development.
- Forming The Dough: After autolyse, stretch and fold the dough around the bowl, lifting it to the center to form a smooth ball. This should take about 20-30 stretches. The dough will be sticky but become smoother and shinier as you shape it.
- Rest the Dough: Cover the dough again and let it rest for 30 minutes to relax the gluten.
- Stretch & Fold – Building Dough Structure: Over the next 2 hours, perform 4-6 sets of stretch and folds, stretching the dough up and folding it over itself 4 times per set, with 15-minute rests in between. This technique strengthens the dough’s gluten network.
- Bulk Fermentation: Cover the dough and let it ferment at room temperature until it has risen and shows good air incorporation (about 3-4 hours depending on ambient temperature).
- Shaping The Dough: Gently remove the dough onto a lightly floured surface (rice flour or semolina recommended) upside down so the smooth side faces down. Shape into a boule or batard by creating surface tension without deflating the bread.
- Place Dough into Banneton: Place the shaped dough seam side up into a banneton basket. Add a light dusting of flour if needed, handling dough gently to preserve gas bubbles formed during fermentation.
- Cold Ferment (Proofing): Cover loosely and refrigerate for 5 to 36 hours. Longer fermentation develops deeper flavor and a better crust texture.
- Preheat Oven and Dutch Oven: When ready to bake, preheat the oven to 230°C (450°F) and place the Dutch oven inside to heat for about 1 hour, ensuring it is very hot for optimal oven spring.
- Baking The Sourdough Bread: Remove dough from the fridge, place on parchment paper, score the top with a lame or razor blade. Carefully transfer the dough with the parchment into the hot Dutch oven, cover with a lid, and bake at 230°C (450°F) for 30 minutes. Then remove the lid and bake for an additional 10-15 minutes at 210°C (410°F) until the crust is deeply browned.
- Cooling: Carefully remove the bread from the Dutch oven and place on a wire rack to cool completely before slicing to finish the baking process and set the crumb.
Notes
- Use rice flour or semolina flour for dusting during shaping to prevent sticking without affecting the dough’s surface tension.
- Longer cold fermentation (up to 36 hours) improves flavor complexity and crust development.
- Preheating the Dutch oven thoroughly is crucial to achieving a good oven spring and crust.
- Handling the dough gently preserves gas bubbles that contribute to the bread’s airy texture.
- Scoring allows the bread to expand uniformly during baking and adds visual appeal.
Keywords: sourdough, bread, artisan bread, baking, fermented bread, homemade sourdough, Dutch oven bread